
Urumqi heating period, indoor humidity 20%.
Southerners have no concept of this number. 20% is the level at which wood cracks, skin peels, and paper curls at the edges. Even with a humidifier turned to maximum, it can only be raised to about 30%.
In such an environment, for a 1,180-square-meter wall surface with 370 panels, the biggest enemy is not low temperature, but "three things moving at different speeds."
This project is a local hotel's guest rooms plus corridors plus elevator lobby. The material is rice-frost white travertine, 1220×2930mm, 2.5–3.5mm thick, about 4.76kg/㎡, with 1,286 square meters of material calculated, 9% waste, and 371 panels ordered. Each seam is reserved at 0.3 mm and is not butted tight.
First look at the three things separately
A wall is not a single whole. From inside to outside, there are at least three layers: the base layer (masonry or concrete + plaster), the adhesive layer, and the finish panel.
The expansion and contraction amounts of these three layers are completely different.
Substrate. Cement-based materials continue to dry-shrink, with obvious shrinkage in the first two years and then slowing down. The magnitude of drying shrinkage is 0.2 to 0.5 mm per meter.
Adhesive layer. After curing, flexible adhesive has elasticity and can absorb some displacement. However, the adhesive layer itself also varies in thickness, especially when humidity changes drastically.
Finish panel. Flexible stone has very good dimensional stability, and expansion and contraction caused by temperature changes are very small, but it will move together with the substrate.
Three things move differently, so the force concentrates in two places: the panel joints and the panel edges.
How was 0.3mm determined?
There is no formula that can calculate joint width accurately. My approach is to superimpose three quantities and then take a safe value.
First, substrate drying shrinkage. Calculated at 0.3 mm per meter, a 4-meter-wide wall accumulates 1.2 mm.
Second, temperature deformation. Indoor annual temperature difference is taken as 30°C, the material's linear expansion coefficient is taken as 2×10⁻⁵, and for a 4-meter-long wall, the deformation is 2.4 mm.
Third, construction error. For layout, cutting and pasting, cumulative error is calculated at 0.5 mm.
Adding the three together, the theoretical cumulative displacement of a 4-meter wall is about 4 mm. Distributed across 6 joints, that is about 0.67 mm per joint.
But in practice it is not left this wide. Why? Because flexible adhesive is elastic and can absorb most of the displacement. The part that truly needs to be left for "hard-on-hard" contact is about half.
So we settled on 0.3 mm. This number isn't the result of precise calculation—it's a "conservative value after compromising between theory and experience."
The purpose of leaving joints is not to make the wall look good, but to give the wall room to "move."
Joint forms and treatment by location
Three forms of joints
0.3mm is a very small number, almost invisible to the naked eye. How is it achieved?
Open joint. Leave a 0.3 mm gap between panels, without filling it with sealant, exposed directly. On light-colored panels this approach makes the seams almost invisible, but the drawback is that dust accumulates, especially near the wall base and waistline.
Dark joint. Panels pressed tightly together, but the panel edges are chamfered at 45 degrees to form a V-shaped groove 0.3 mm deep. From a distance it looks flat; up close there is a fine line.
Groove. Leave an open joint of 3 to 5 mm at intervals, and keep other positions tight. This is the safest approach, because large joints can absorb more displacement, while small joints are only decorative.
This project uses concealed joints plus segmented grooves: concealed joints at regular positions, with a 4 mm exposed joint left roughly every 8 meters, and the exposed joints filled with color-matched sealant.
Why every 8 meters? Because 8 meters is about 2.7 times the length of one panel, and also the width of a standard bay. Segmenting by bay puts the seams exactly at partition wall positions, which is visually unobtrusive.
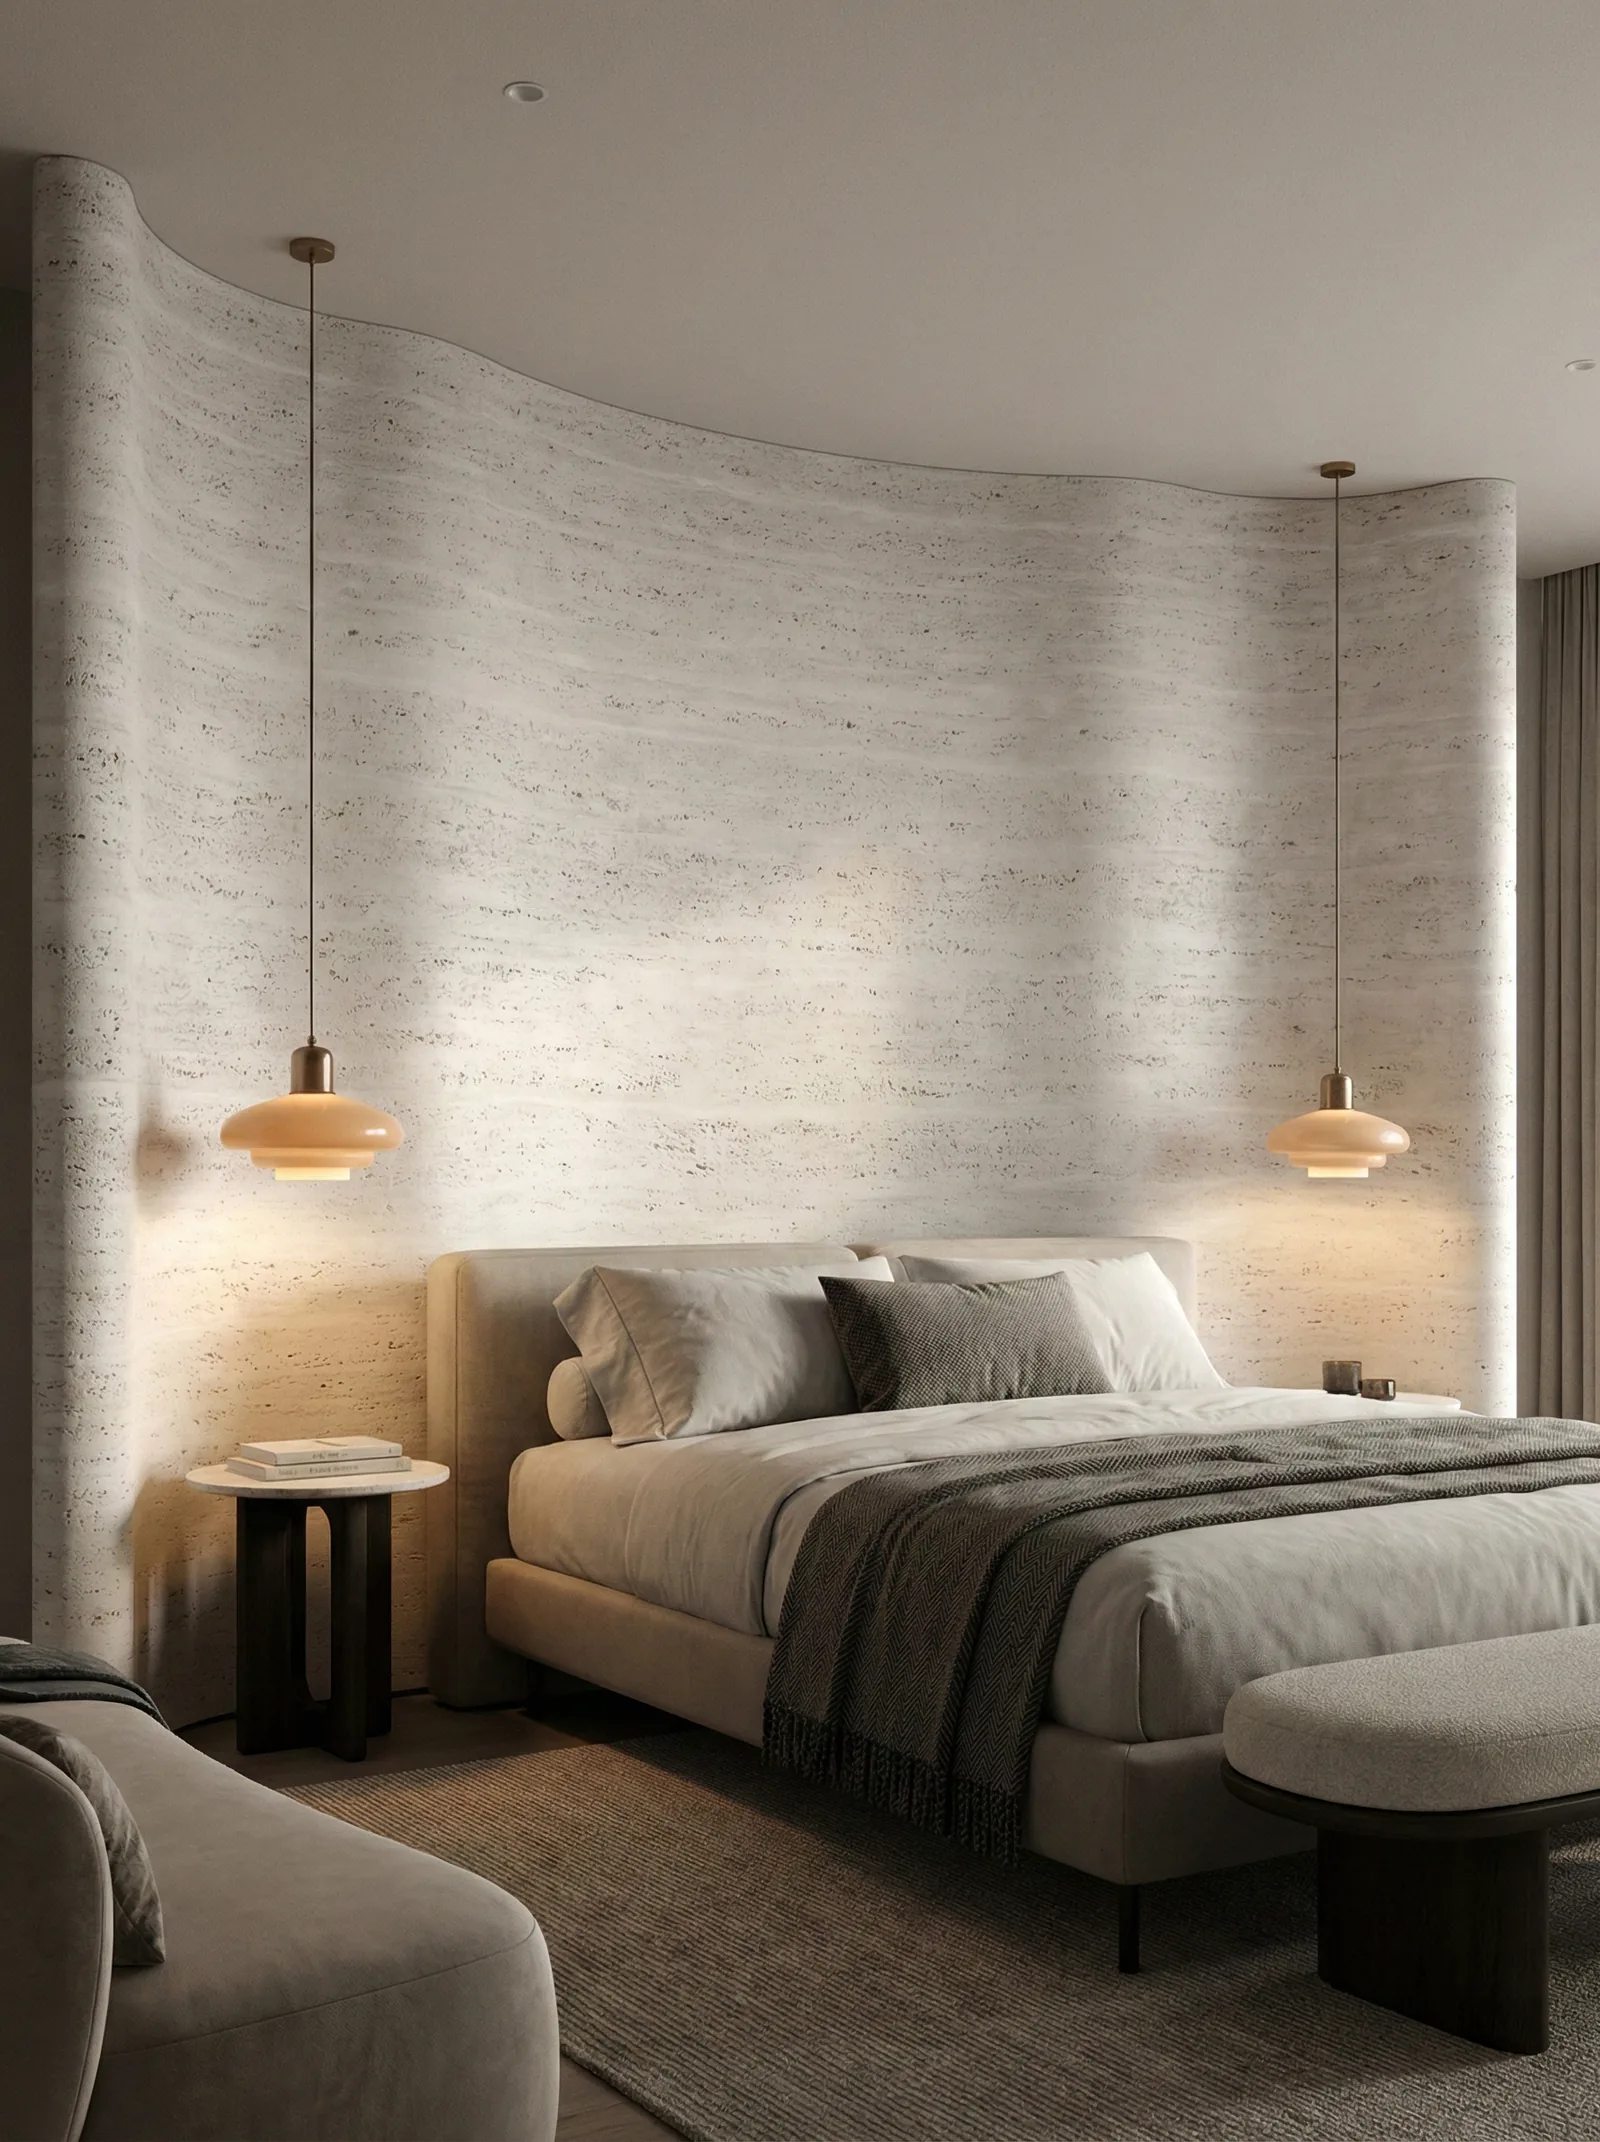
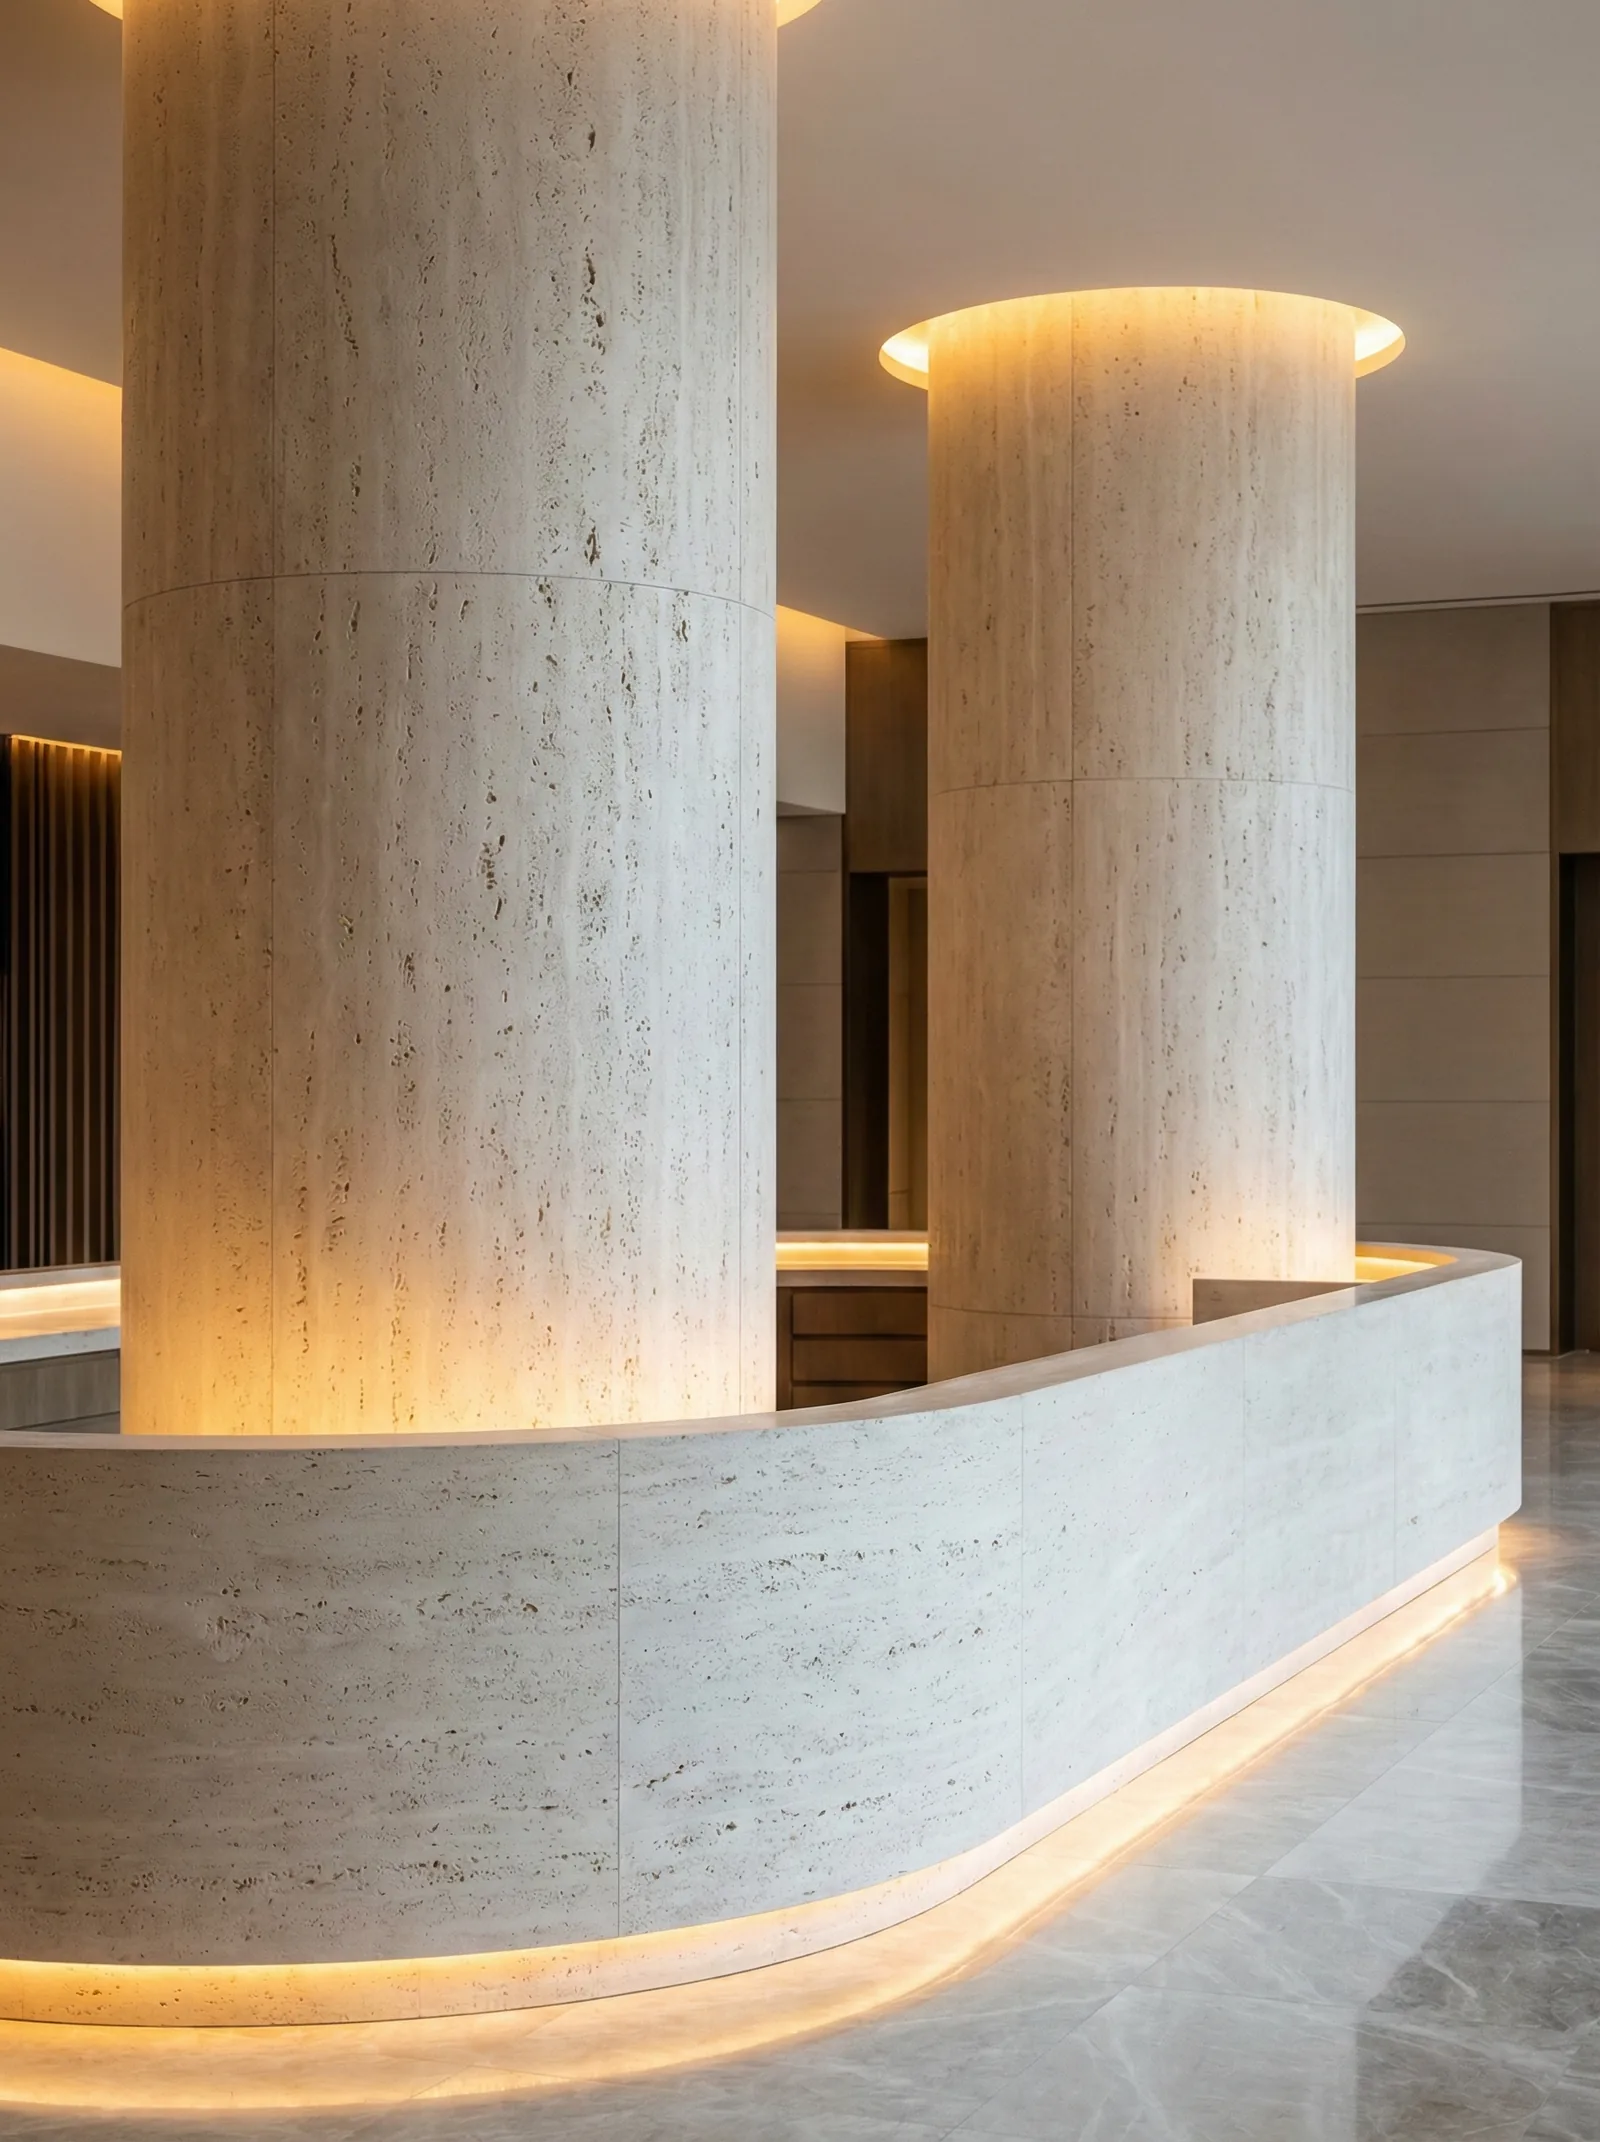
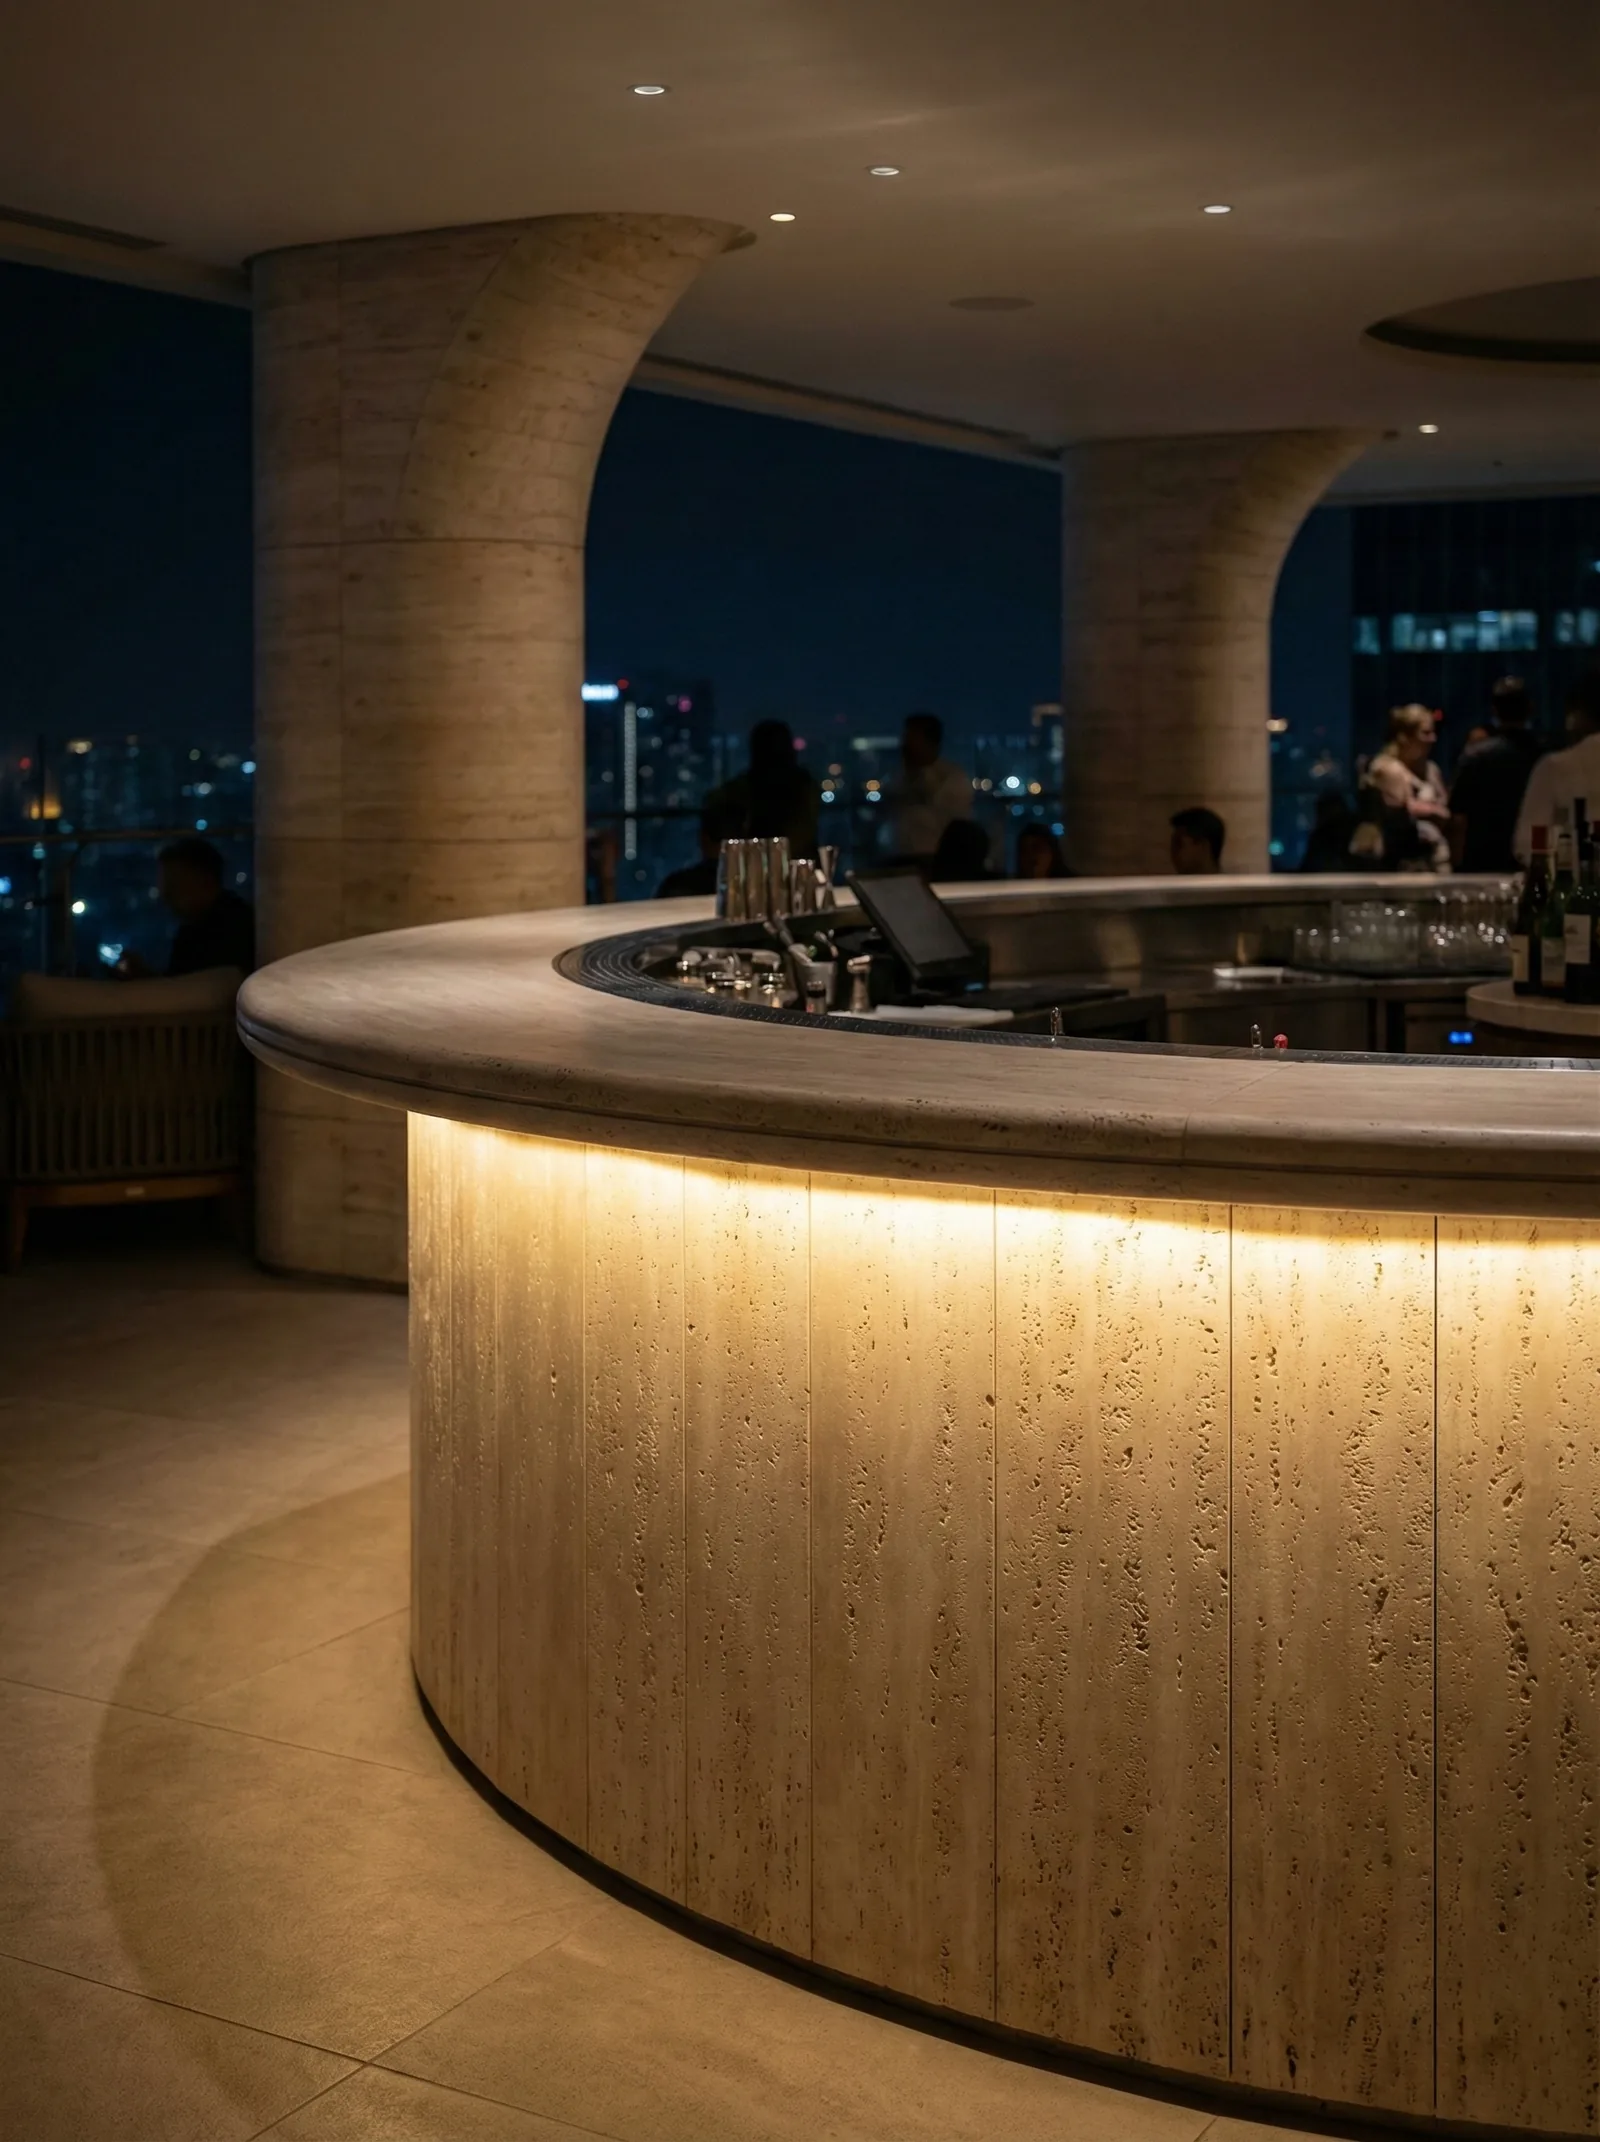
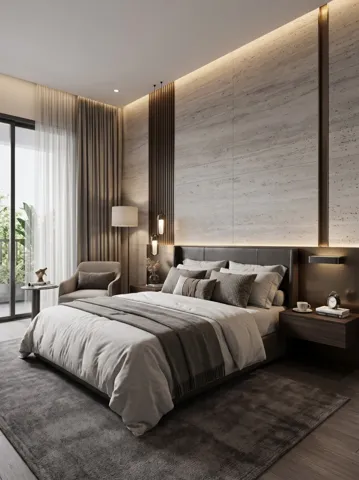
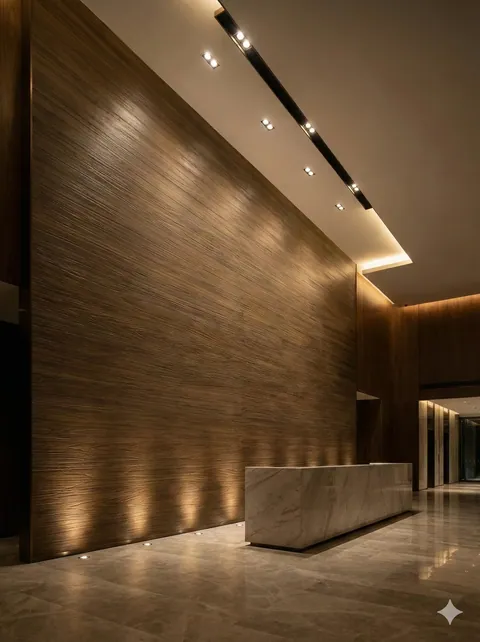
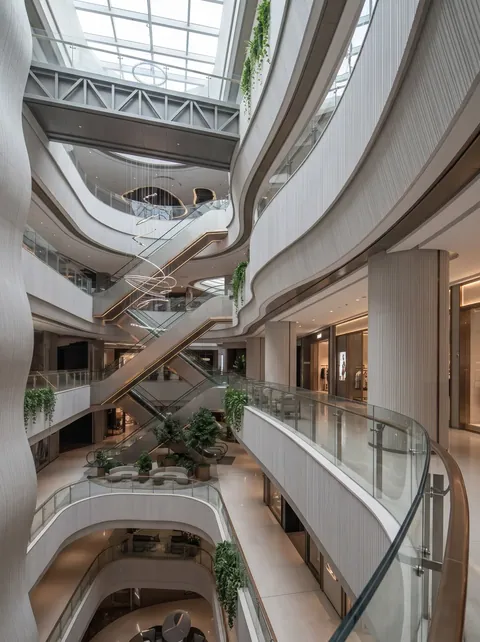
Here the bedroom, reception area, and nighttime bar counter are shown separately; the same light-colored stone veining presents different directions and light-dark effects under different lighting. They can help discuss the material transitions between wall and counter body, and column surfaces, but cannot serve as measurement photos for sub-millimeter joints. The specific joint width, sealing material, and applicable temperature should still be determined according to the selected product and details; a uniform practice cannot be inferred backward from a certain shadow line in a photo.
Adhesive: low-temperature curing is a hard requirement
Dry regions are often cold as well. In Urumqi, winter outdoor temperatures are -25°C, and the construction period falls in autumn, when indoor temperatures are around 15°C.
The curing speed of flexible adhesive is strongly related to temperature. At 15°C, curing time is about twice that at 25°C. Below 5°C, many adhesives hardly cure at all.
So the adhesive selected for this project was explicitly required to be "low-temperature curable," and a pull-off test was done on site: apply a 300×300 sample, peel it off after 24 hours, and see whether the adhesive layer breaks or the interface debonds. Interface debonding means the adhesive did not cure properly.
The test was conducted three times. The first two failed at 12°C, and only the third passed after the indoor temperature was raised to 18°C. This was later written into the construction plan: large-area installation is not allowed when the indoor temperature is below 15°C.
The test of two seasons
The first test of the heating season.
The project was completed in autumn, and the first heating in winter was the real test.
In the first week of heating, indoor humidity dropped from 45% to 20%, and the wall began to “creak.” It was not really creaking, but the sound of panels rubbing against the substrate during slight movement, audible when it is quiet at night.
This stage is the most dangerous. The boards are shrinking and the seams are getting smaller; if they were installed tight to begin with, the boards will bulge.
I had them patrol once a day during the first week of heating, focusing on three spots: panel external corners, door and window opening edges, and the visible seam every 8 meters.
Result: all three locations were normal, and only one open-joint adhesive showed a 0.5 mm shrinkage crack, which was repaired once with adhesive.
This matter shows that the 0.3 mm allowance was right—if it had been installed tight in the first place, that 0.5 mm displacement would have turned into bulging.
Summer is the opposite
Summer in dry regions is another extreme. Outdoor temperatures are 38°C, indoor air conditioning is set to 24°C, and the temperature difference between the two sides of the wall is 14°C.
At this point the panel is expanding and the joints are widening. A 0.3 mm concealed joint becomes 0.5 mm, and the eye begins to notice it.
This change is reversible and will return in autumn. So if acceptance happens to be in midsummer and the seams look slightly wide, there is no need to worry.
What really requires concern is another situation: the seam is wide, but the adhesive has not kept up. Adhesive is elastic and should expand and contract together with the panel. If the adhesive hardens and cracks, it means the wrong adhesive was chosen—rigid adhesive was used, not flexible adhesive.
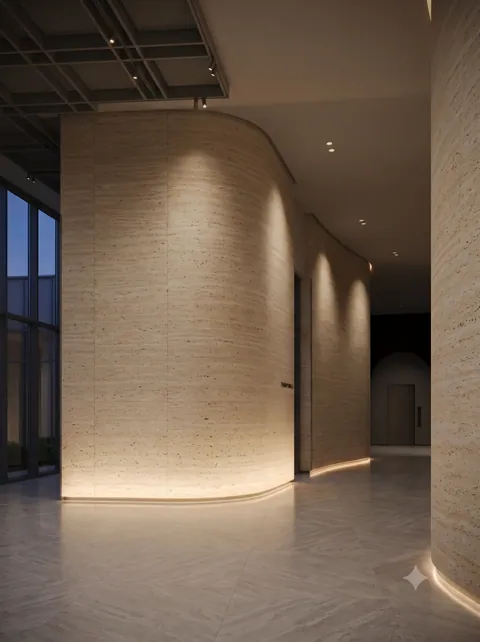
Arched niche and spiral staircase
This project has two irregular shapes, which pose a greater challenge.
Arched niche. Niches are recessed, with three sides plus a top, four internal corners. Every internal corner is a place where stress concentrates. The method is to fold the panel into a U shape, with no gap left at the corners, relying on the panel's flexibility to absorb displacement. But if the niche size is large (over 800 mm), a 0.5 mm gap must be left at the fold corners, otherwise cracking will occur.
Spiral staircase. The curved side panel of the staircase is a double-curved surface, and the curvature differs from section to section. This can only be done with narrow strips, with strip width controlled within 300 mm and a 0.3 mm gap between strips. Stairs are a high-frequency use area, and handrails, luggage and cleaning tools will bump them, so the adhesive for the narrow strips must be applied more fully.
What role wood finish plays in this project
Part of the corridor uses wood-veneer wall panels, paired with travertine.
This combination has an additional benefit in dry regions: wood absorbs and releases moisture, which can play a small role in regulating humidity. Of course, this effect is very small and cannot replace a humidifier, but at least it will not be as "dry and brittle" as a pure stone space.
The pairing approach is vertical segmentation: travertine forms the main wall body, while wood veneer forms the door frames and local wainscoting. Leave a 1 mm joint where the two materials meet, because wood expands and contracts much more than stone; without a joint, it will crack the stone.
A case of cracking
I have seen cracking on a project in another dry region.
That was an office building; the wall used the same material, but the joints were stuck tight, leaving no gap at all. The reason was for "looks", fearing the joints would look dirty.
After the first winter passed, fine cracks appeared on three panel surfaces, 5 to 10 cm long, located at the panel edges.
The mechanism of cracking is: the substrate shrinks, pulling the panel; the panel edges are where restraint is strongest, stress concentrates, and the tensile strength of the material is exceeded.
The repair method was to pry open the panels at the cracks and reinstall them with joints. Three spots took two days.
This case makes me even more certain of one thing: in dry regions, "no seams" is not refinement, it is risk-taking. Seams are the wall's breathing holes; if blocked, the wall will pay you back in other ways—bulging, cracking, detachment, each harder to repair than the last.
Why the waste rate for this order is only 9%
1180 square meters net area, 1286 square meters for calculation, loss of 9%. This number looks nice in a project with curved surfaces and spiral staircases.
There are three reasons: first, it is mainly flat surfaces, and guest room walls are basically box shapes, so the layout is neat; second, the travertine color itself allows "non-matching veins", the joints do not need to pursue texture continuity, and cutting freedom is high; third, the panel specifications for this project are uniform, one type of 1220×2930, with no mixed specifications.
The corresponding counterexample is those projects where "every wall has a different width", where edge-cutting loss can reach 15%. So loss depends half on the shape and half on whether the plane is regular.
two sets of standards for dry regions and the south
Three more things to note in dry regions
Besides the joints, there are three more things related to humidity.
dust. Static electricity is high in dry regions, and dust adsorption is strong. During construction, the wall surface must be kept clean; otherwise dust mixes into the adhesive and bonding strength decreases. Before installation, wipe the substrate once with a wet cloth and wait until it is thoroughly dry before applying adhesive.
Substrate moisture content. The substrate in dry regions is often very dry, which is a good thing. The exception is newly built walls—new walls have high moisture content and must be allowed to dry thoroughly. Measure with a moisture meter; construction is not allowed above 8%.
Finished product protection. Winds are strong in dry regions, and dust will come in when windows are opened for ventilation. After installation, the wall surface should be covered with a protective film until handover.
Not all locations have the same width
0.3mm is a reference value, and the actual execution needs to be adjusted according to the part."
| Location | Suggested joint width | Reason |
|---|---|---|
| Large flat wall (hidden seam) | 0.3 mm | Conventional displacement, visually almost imperceptible |
| Section joints every 8 meters | 4 mm | Concentrate and release cumulative displacement, apply same-color sealant |
| External corner | 0.5 mm | Constrained on two sides, stress concentration |
| Edge of door and window openings | 0.5 mm | Openings are where stress changes abruptly |
| wall base | 10–15 mm | Drainage and settlement must be reserved |
| Curved wall | 0.5 mm | Rebound stress of the curved surface itself |
| Interface with wood veneer | 1 mm | The expansion and contraction of wood is far greater than that of stone |
| With metal edge trim | 0.5 mm | Metal expands noticeably with heat |
On site, this table is more useful than any theory. Workers do not need to understand thermodynamics; they only need to know "how much to leave at this position."
How to measure 0.3mm?
With such a small joint, a tape measure cannot measure it.
The method used on site is a feeler gauge. Insert a 0.3 mm feeler gauge blade; if it meets slight resistance, it passes. If it won't go in, it's stuck tight; if it's too loose, it's out of tolerance.
What if there is no feeler gauge? Use a sheet of A4 paper. A4 paper is about 0.1 mm thick, and three sheets stacked are about 0.3 mm. If it fits in just right, it is correct.
I have used this rough method for many years; it is more convenient than a feeler gauge because every construction site has paper.
Note that you must not push the board hard when measuring. The board is flexible and deforms when pushed, so the reading will be inaccurate. Use a light hand and let the feeler gauge slide in under its own weight.
Can southern projects copy this directly?
Cannot.
The problem in the South is not “too dry” but “too wet.” During the plum rain season, indoor humidity reaches 85%. The panels do not absorb water, but the substrate will absorb water and swell, and wood veneer will absorb moisture and elongate.
So in the south, the logic of seams is reversed: it's not about leaving space for contraction, it's about leaving space for expansion. The seam width should actually be a bit larger, especially at the junction of wood veneer and stone—1.5 mm is recommended.
There is also a problem specific to the south: mold. If dust and water accumulate in the seams, mold grows easily. So in the south, exposed seams should use mold-resistant adhesive, and concealed seams should be fitted as tightly as possible to reduce spaces where dust collects.
In one sentence: dry regions fear "squeezing", humid regions fear "stuffiness". The seam method must follow the climate; one set of drawings cannot be used nationwide.
A one-sentence summary
For wall surfaces in dry regions, the two most valuable words are "leave gaps."
0.3 millimeters, this number is so small that it is invisible, but it determines whether this wall can survive the first winter. The invisible things are often the key.
To see the real photo of this rice-cream white travertine,Solid-color travertineandPrinted travertineThe two series can be compared; the complete data for this project is inUrumqi hotel guest room case.
Related articles
How to inspect and accept flexible stone walls? Checklist for hollowing, joints, and color differences
What to check in flexible stone wall acceptance, and which tools to bring? Co...
How to make openings in flexible stone walls? Sockets, vents, and installation sequence
Should flexible stone be cut with holes first or installed on the wall first,...
What to do if flexible stone gets dirty or damaged—cleaning, repair and panel replacement
How to clean flexible stone walls, and can impact damage and defects be local...
What lights should be used with flexible stone? Color temperature, color rendering index and wall-washing light mock-ups
Why does flexible stone look like it has changed color when you change a lamp...