
1080 square meters of wall surface, 324 holes.
On average, there is one opening every 3.3 square meters. This does not even count socket panels; it only counts what actually needs to be cut out of the board: light troughs, switches, mirror cabinets, air vents, and access panels.
This project is the boutique hotel in Xihu, Hangzhou, with 36 guest rooms and five functional surfaces using one color code. The walls use printed travertine Yunyan 16, 1220×2930mm, 2.5–3.5mm thick, about 4.76kg/㎡, 342 panels.
324 holes, it is impossible to do all correctly relying on hand stability, it relies on the order.
1. Sequence: cut openings first or install on the wall first
The order debate: cut openings first or install on the wall first
This problem can start an argument on site.
Those who advocate drilling first say: laying the panel flat on the ground for drilling is easier to handle, more precise, and the dust is easier to clean up.
Those who advocate installing on the wall first say: the actual hole positions on the wall are accurate; holes drilled on the ground will not match the site.
Both sides are right, but there is only one conclusion:Drill rough holes on the ground first, then refine after installation on the wall.
Why? Because flexible stone is a thin panel; after being applied to the wall, when the drilling tool runs along the wall surface, it easily damages the adjacent panel surface. Drilling on the ground, however, the panel is flat, the tool cuts vertically, and the edges are neat.
Leave a 5 to 8 mm allowance for the rough opening; after installation on the wall, trim along the actual hole position with a trimming knife. This 5 to 8 mm allowance is used to absorb on-site tolerances.
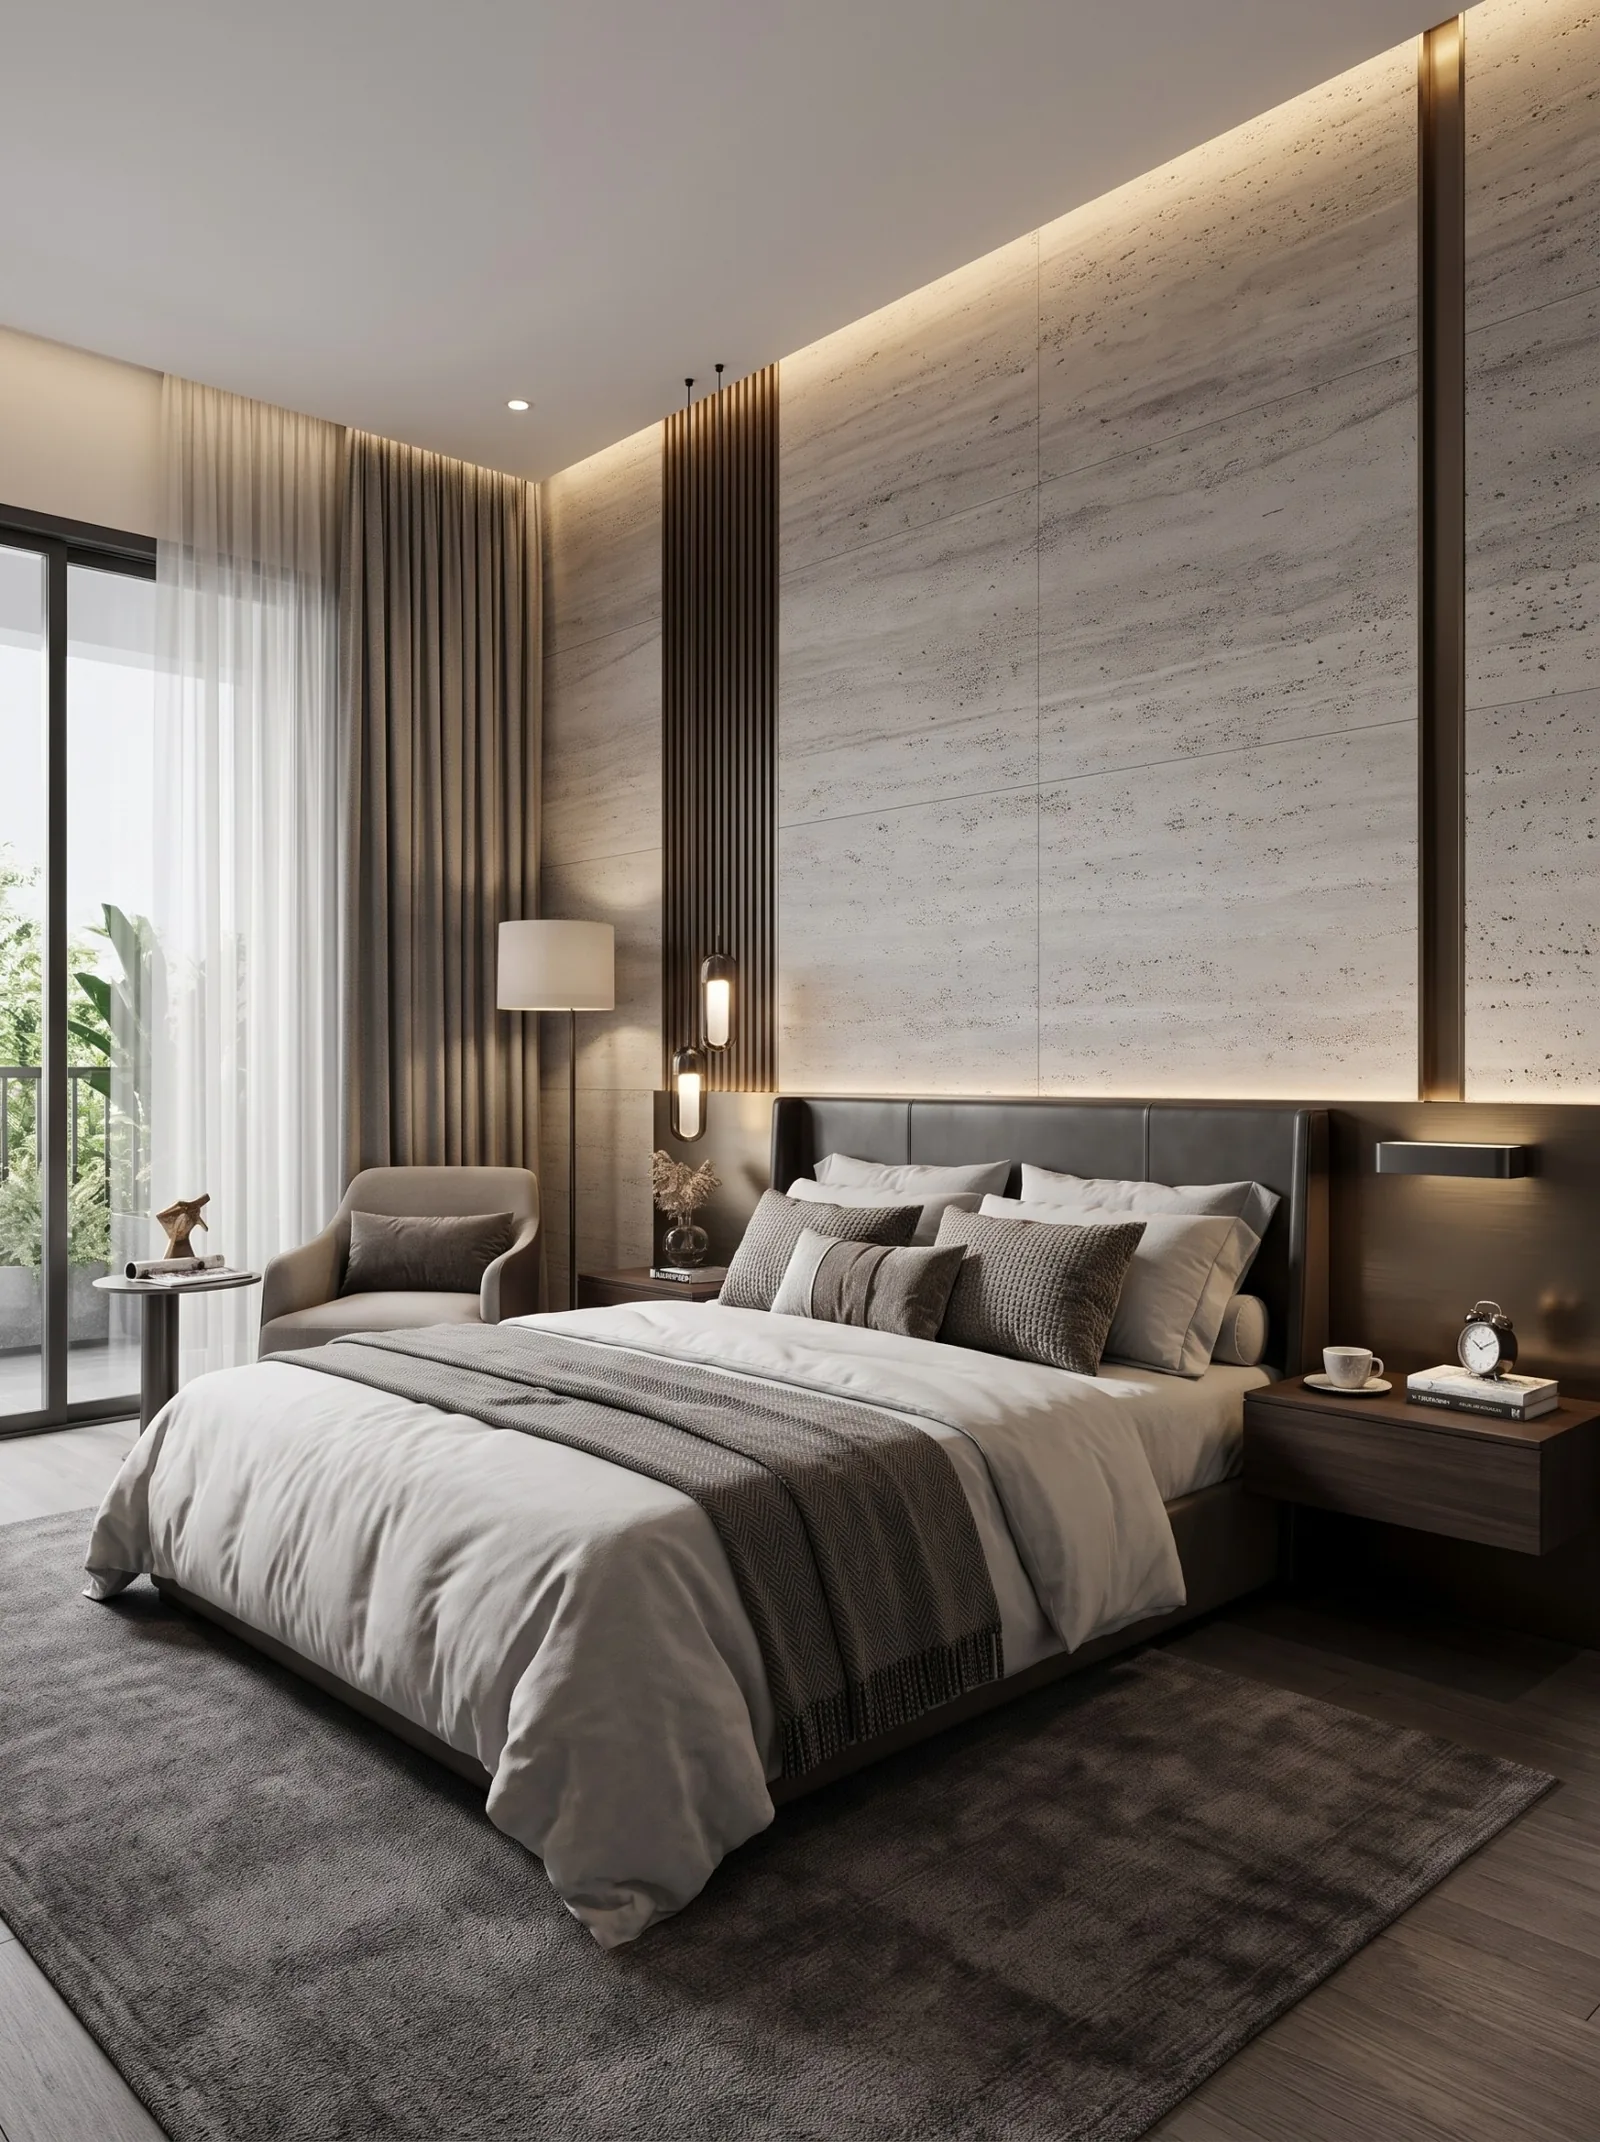
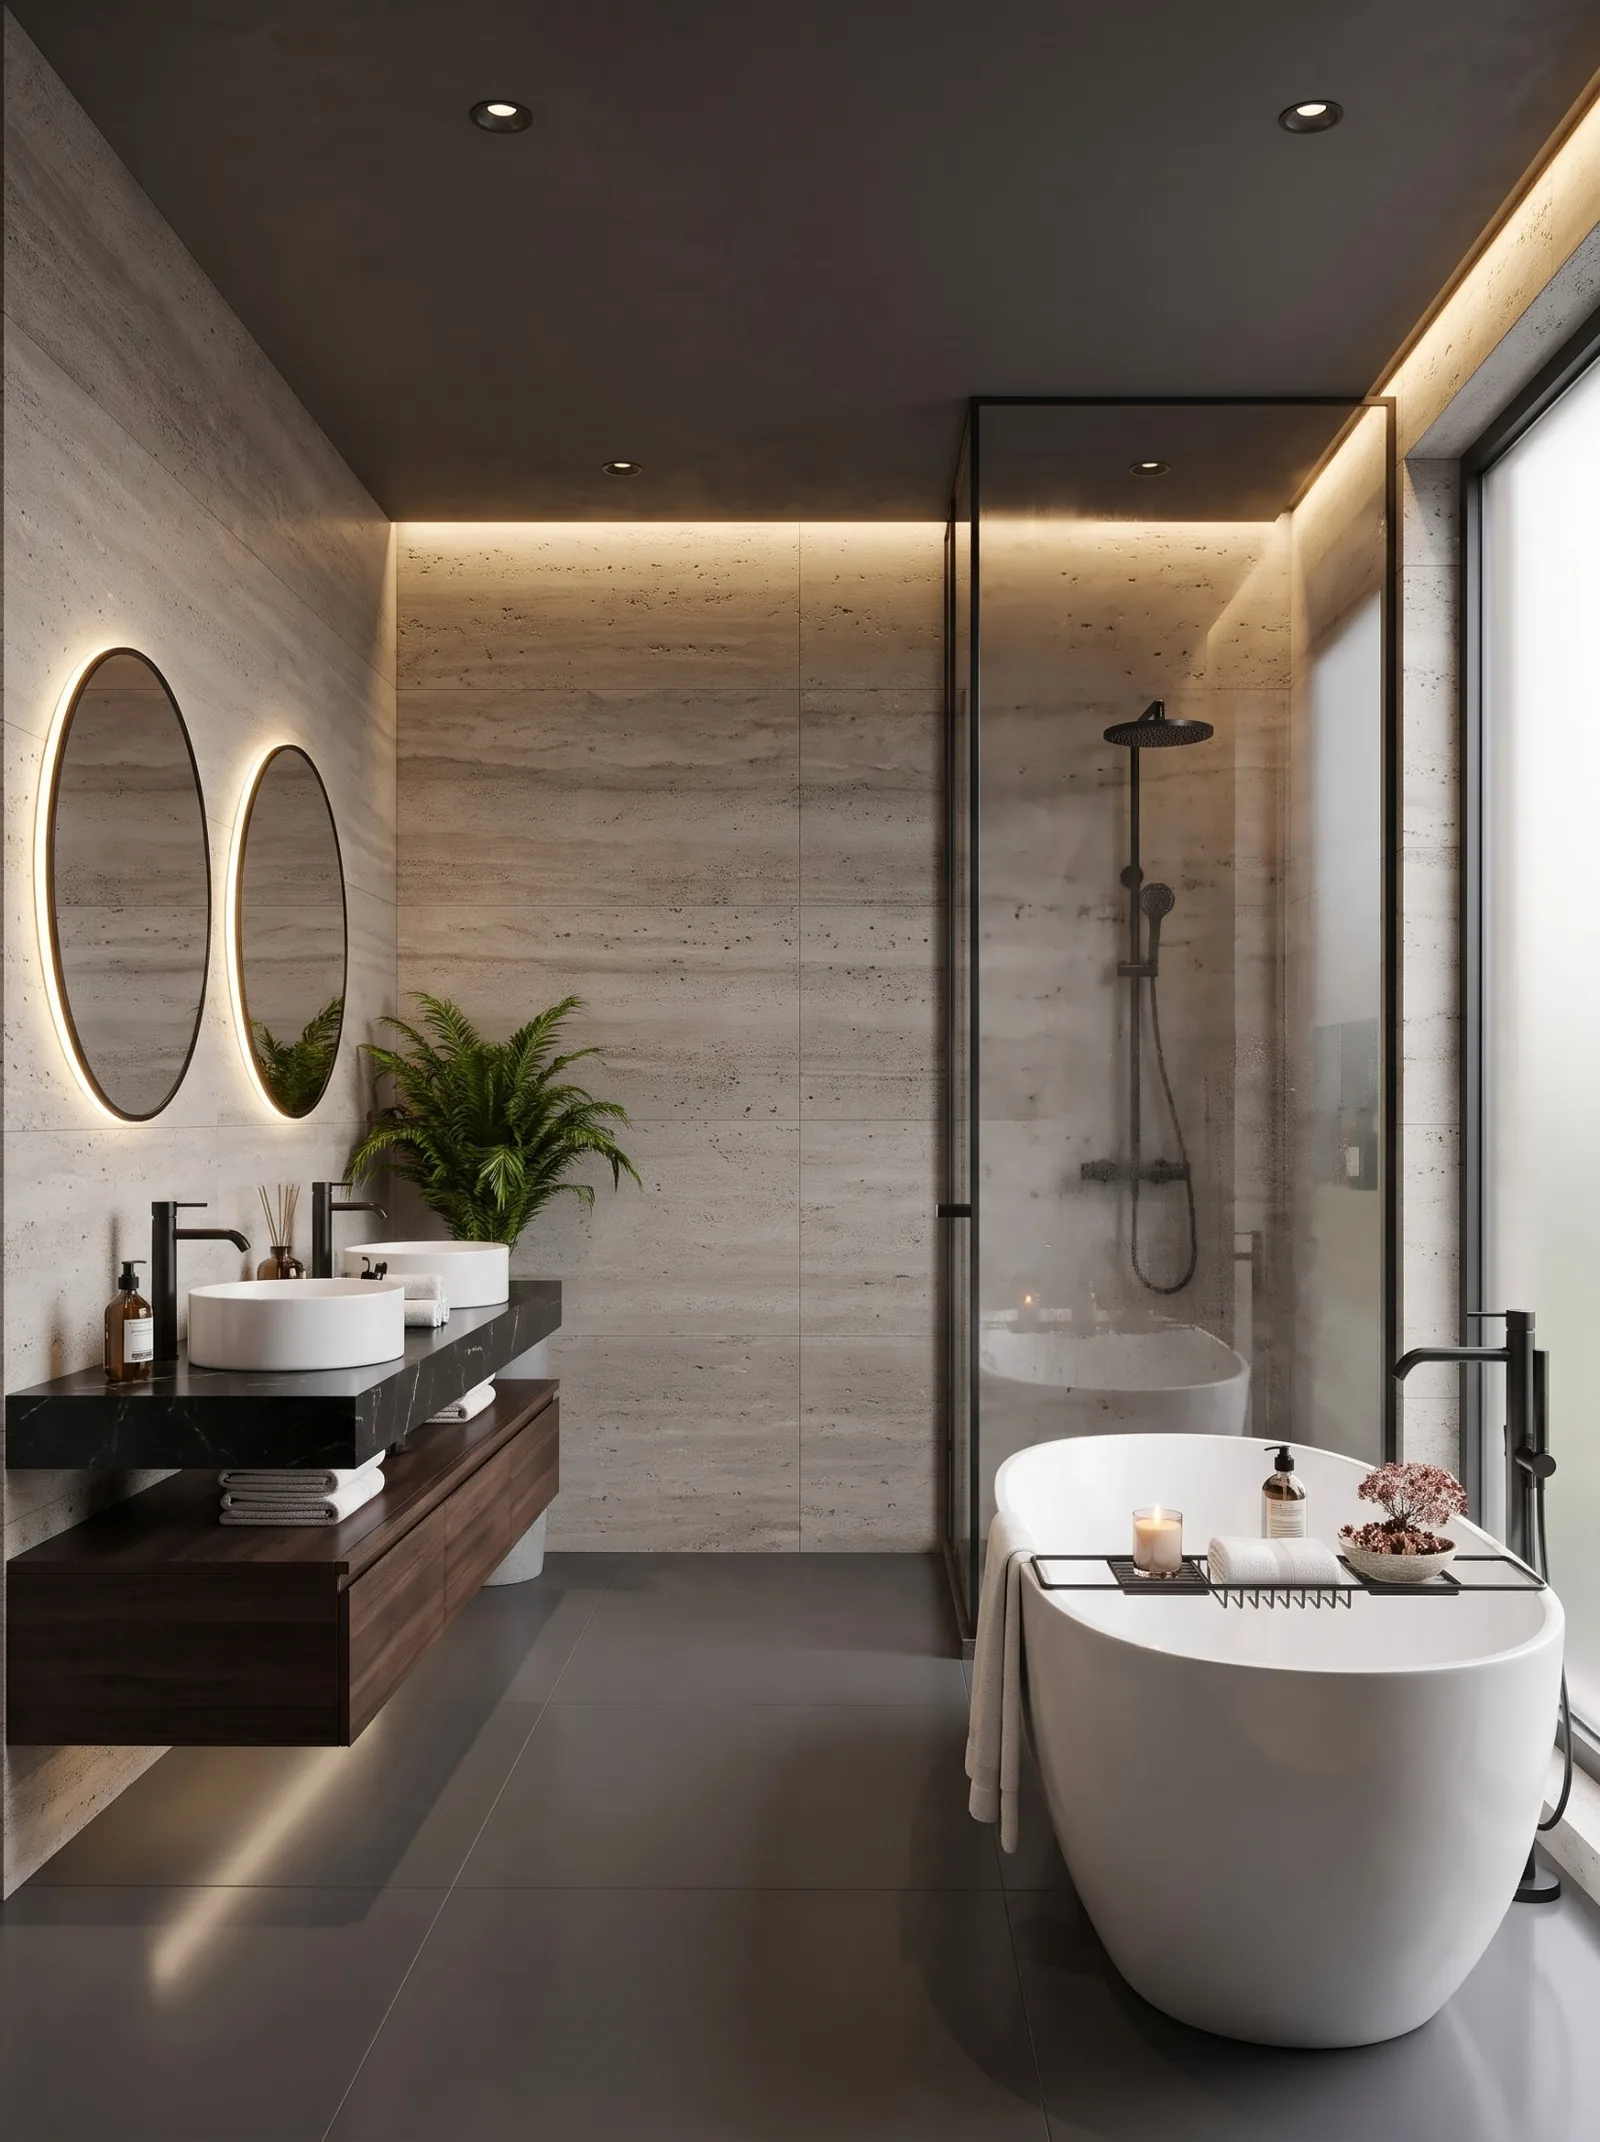
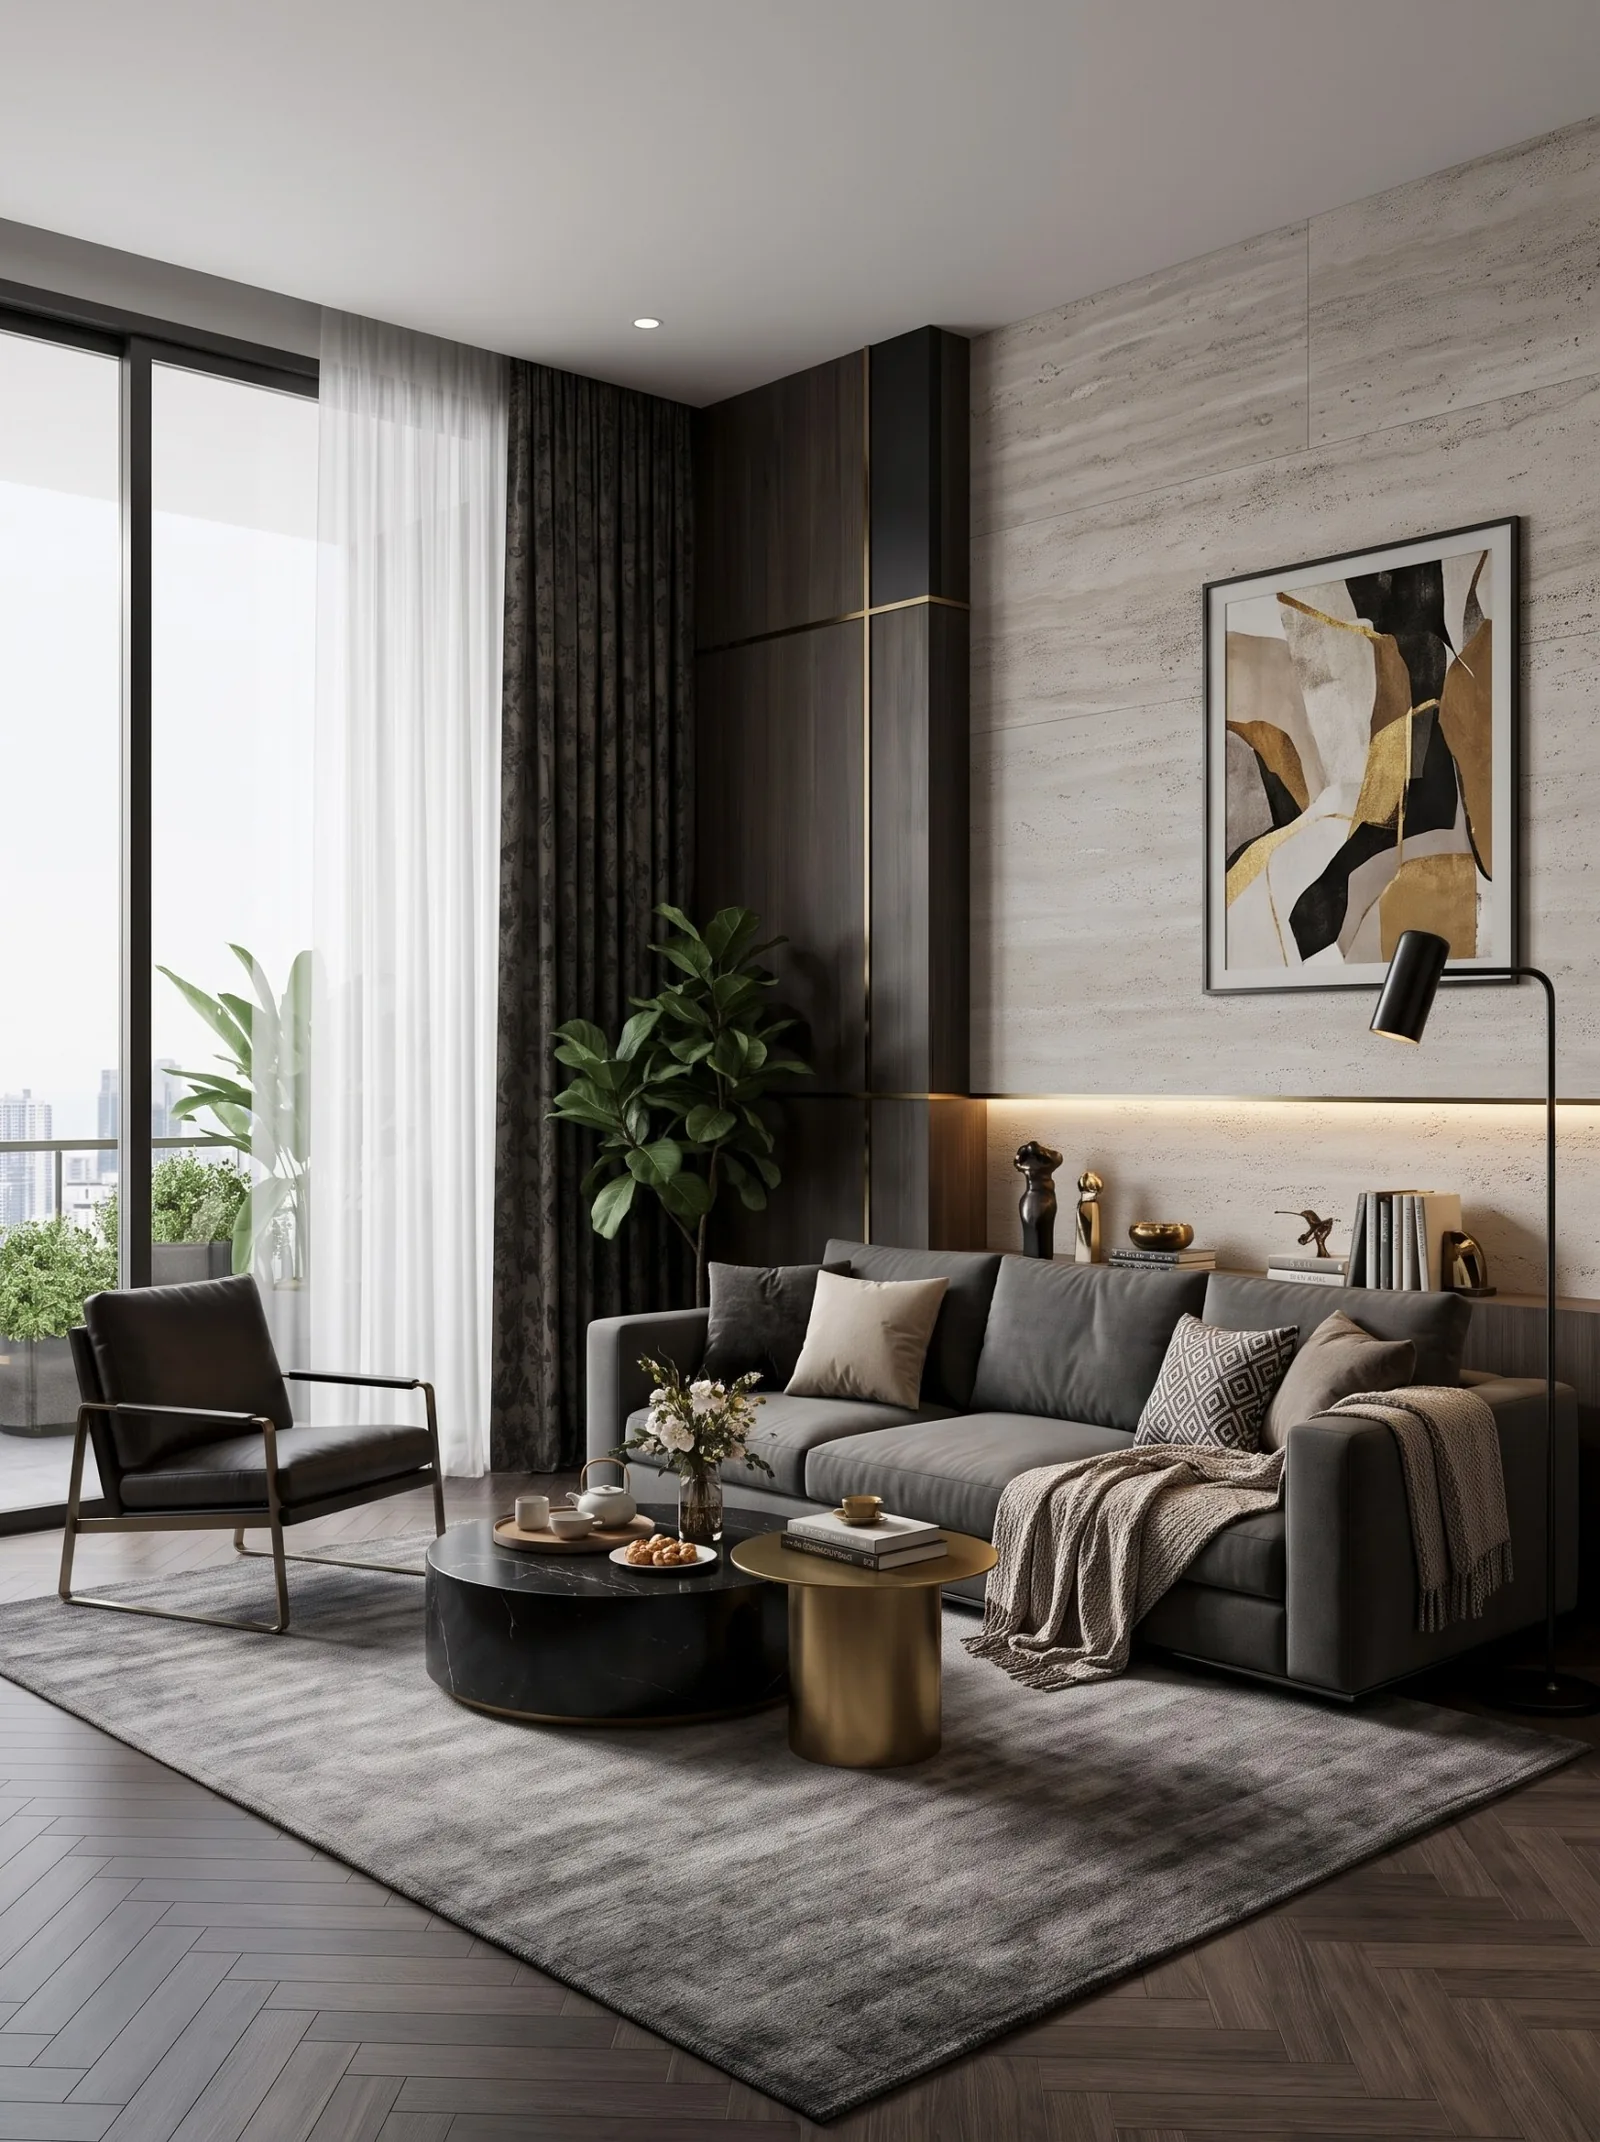
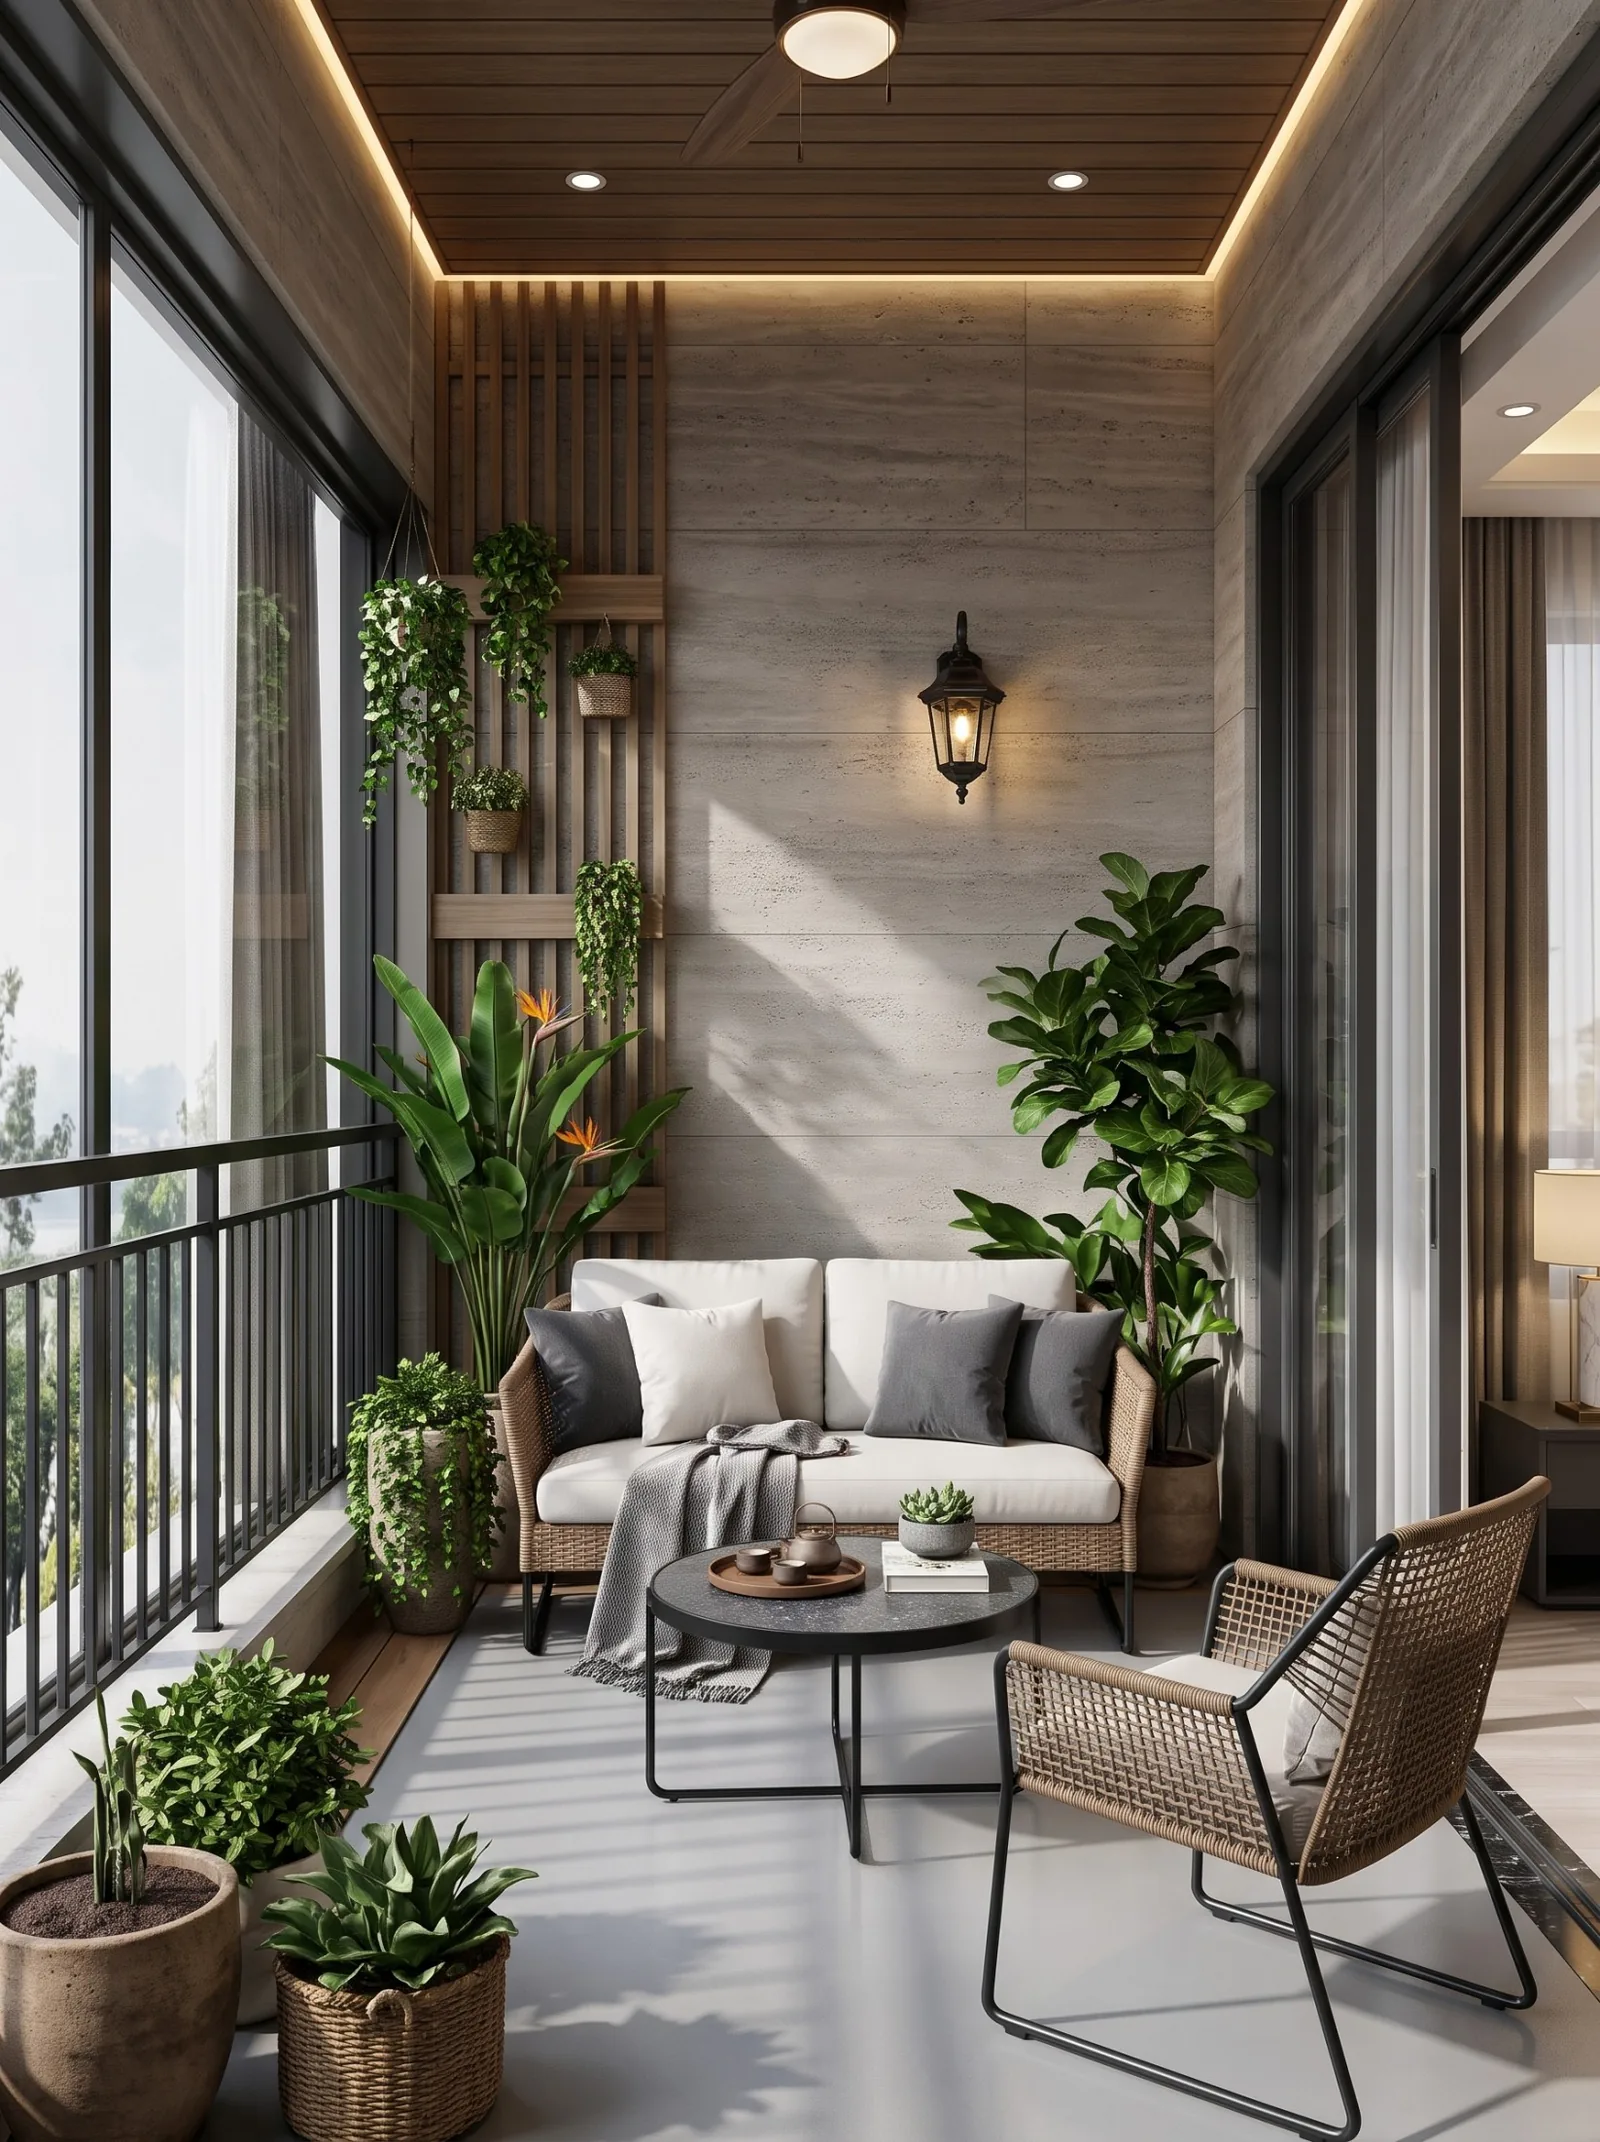
This set of guest room images now corresponds to the actual spaces: bedside, entryway, bathroom, living corner, and balcony. The images help divide furniture and equipment into zones, but they do not photograph every concealed box, bracket, or access door. In particular, the round mirror is not a large round hole in a whole wall panel, and a hanging picture does not mean a panel opening needs to be cut in advance. Fixing points, wiring holes, and access openings should be numbered separately, then checked against the actual equipment and substrate positions.
II. Five types of holes, one 60 mm line
Five types of holes, five methods
Not all holes are the same. They are divided into five categories by method, and the handling logic for each category is different.
First category: sockets and switches. 86 type base box, opening a 75×75 square hole, the edge of the hole from the edge of the board at least 60 millimeters. This type of hole is the densest and also the easiest to make mistakes——because the position of the base box is often adjusted on site, and it is common for the drawing and the actual to differ by 20 millimeters.
Second category: light troughs. Wall-wash light slots are usually full-length or half-length, with a width of 60 to 80 mm. The position of the light slot must be determined together with the layout, because the slot interrupts the continuity of the panels. If the light slot falls exactly on a panel joint, the joint and slot overlap, and a dark line will appear when the light shines down.
Third category: mirror cabinets and mirrors. The outer contour of the mirror surface is not the opening dimension; for wall-mounted mirrors, recessed mirror cabinets and backlit mirrors, the fixing points, wiring holes and openings should be confirmed separately. The double round mirrors and mirror cabinets in the bathroom: hole positions must be determined according to the actual products, not the drawings. Mirror mounting hole positions and cabinet hook positions differ from brand to brand.
Fourth category: air vents. Air conditioning return air and exhaust openings are large in size and usually need to span panels. The method for spanning panels is: leave one panel on each side of the opening, break in the middle, and seal the edges with matching color edge trim.
Fifth category: access panels. Minimum 300×300, and the position should avoid the main sightline. This type of opening must be able to open and close after completion, so a frame must be added around the edge.
Hole edge distance: the 60 mm line
If the hole is too close to the panel edge, the panel will crack from the hole edge.
There is no national standard for this distance; the industry rule of thumb is 60 millimeters, about 20 times the board thickness. Below this distance, the edge strength of the board is insufficient, and vibration during transport and installation may cause it to crack.
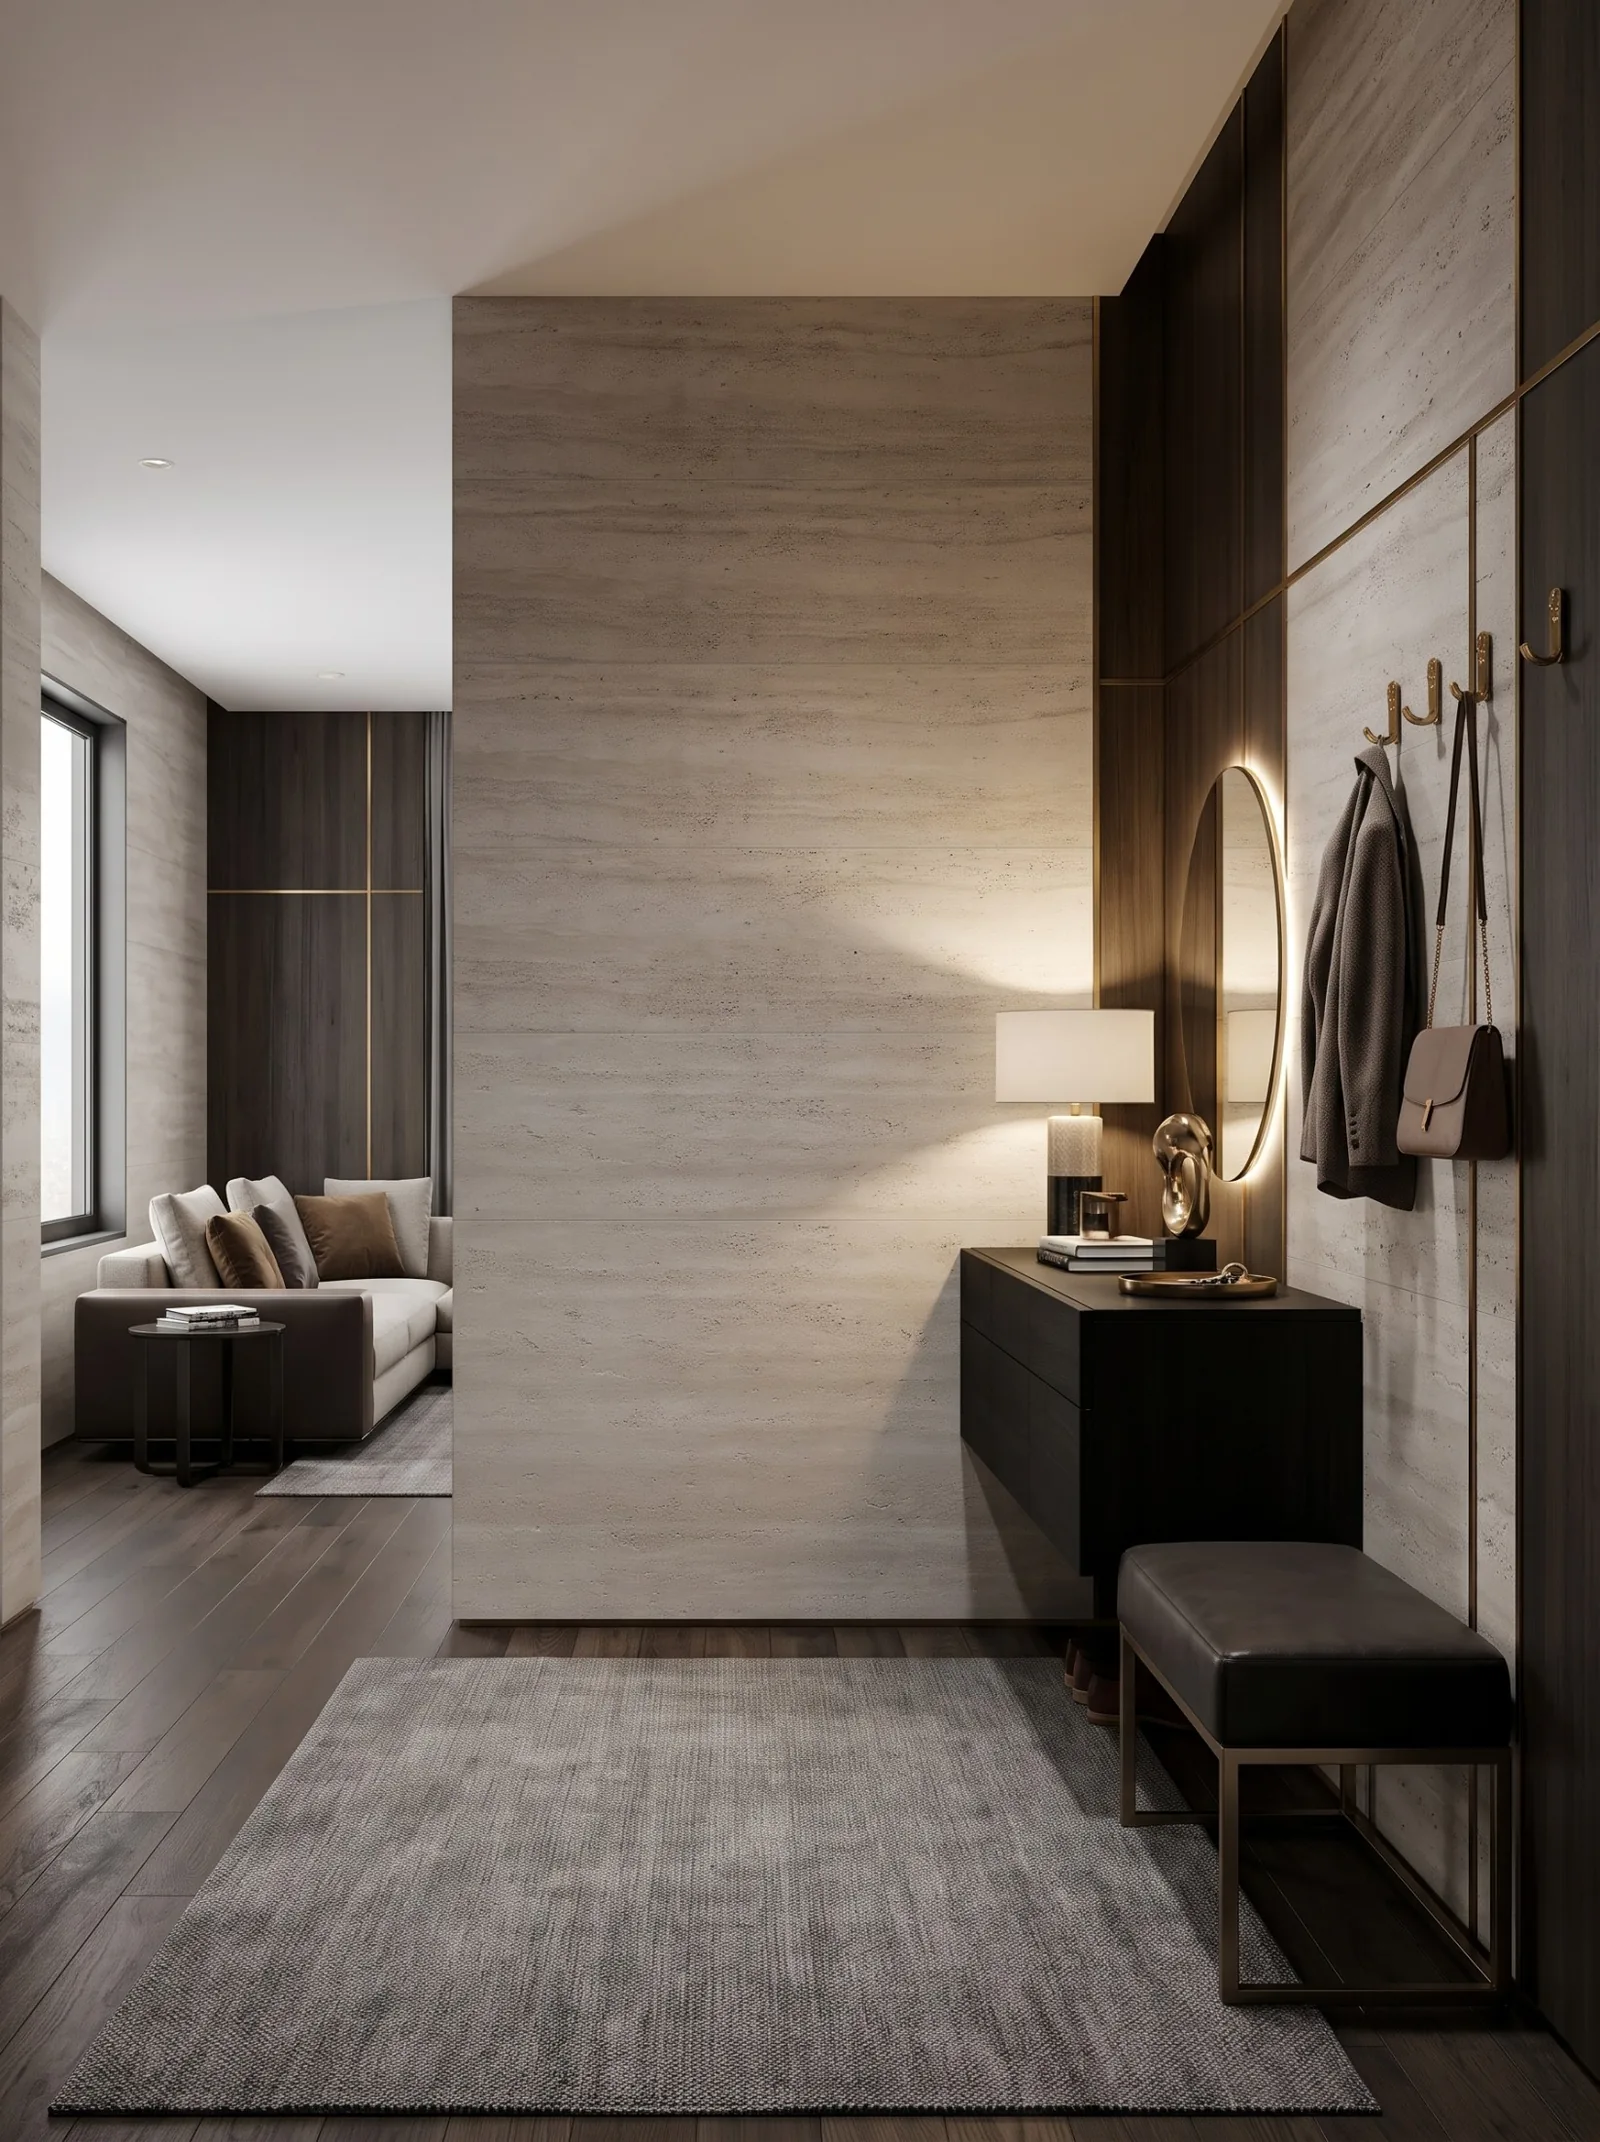
What if the design requires proximity, for example, the socket is right at the panel edge? There are two approaches: first, make the hole into an opening (not closed) so the panel edge becomes part of the hole; second, add a backing board behind the panel to restore strength around the hole.
The images of the Kunming beauty salon show the round mirror and textured wall, but do not show the opening behind it. The outer diameter of the round mirror cannot be directly treated as the diameter of the finish opening; the edge distance of the opening should be checked against the mirror installation method and the layout drawing.
3. Things to think about at the layout stage
Think about openings during layout
324 holes, if you think about it only during construction, it will definitely be chaotic.
The correct approach is to mark the hole positions on the layout drawing during the layout stage. After marking, check three things:
First, whether the holes fall on panel seams. Holes falling on seams have broken edges and look bad when finished.
Second, whether the distance between holes is sufficient. If the strip of panel between two holes is less than 80 mm, that strip is prone to breaking.
Third, whether the hole positions can be aligned. On the same floor of guest rooms, socket heights should be consistent, and mirror cabinet centers should be consistent.
Of the 324 holes in this Hangzhou project, one-fifth had their positions fine-tuned during layout specifically to avoid panel seams.
IV. How to fix reinforcement and misplacement
Reinforcement: the panel behind the hole
After cutting the opening, the panel around the hole becomes thinner. Areas with concentrated stress need reinforcement.
There are three reinforcement methods:
First, the backing plate. At the opening position on the back of the panel, add a 3 mm PVC or aluminum plate and bond it with structural adhesive, with an area 100 mm larger than the hole.
Second, the frame. Make the hole into a ring frame; the frame itself bears the load, and the panel is only the finish.
The third is the substrate behind it. If the hole is opened in a solid wall, the substrate itself can bear the load, and the panel does not need reinforcement.
The judgment standard is: will anything be hung on the hole? If something is hung, reinforcement is needed; if not, it is not. Mirror cabinets, TVs, and wayfinding signs need hanging; sockets and air vents do not.
That wellness club in Chengdu has 3 recessed wayfinding signs on the wall. The signs are embedded into the panels and flush with the panel surface, so the sign body itself must be fixed to the substrate, and the panels only surround the sign. The key to this approach is making the opening size 2 mm larger than the sign body to leave installation tolerance, and finally finishing the edge with color-matched adhesive.
How to fix it if installed wrong
Mistakes always happen. What should be done if you only discover after installation that a hole was missed?
Three situations, three treatments.
Hole positions are off by less than 10 millimeters. Use a trimming knife to enlarge the hole, and cover the enlarged edge with a same-color edge trim. This is the lightest treatment.
Hole positions are off by 10 to 30 millimeters. After enlarging the hole, add a patch of the same color, leave a 1 mm gap between the patch and the original panel, and apply same-color adhesive. This method is visible up close but essentially imperceptible from a distance.
Hole positions are completely wrong, or the holes are cut too large. The only option is to replace the panel. The cost of replacing a panel is not the panel itself, but the removal—flexible stone is fully bonded, so removing one piece requires scraping off adhesive, repairing the substrate, and re-installing; the labor is three times that of installing a new panel.
So my principle is: I'd rather spend ten extra minutes on the ground checking hole positions than stick it on and then try to fix it.
V. On site: tools, process, acceptance
The process for one guest room
Breaking down the 36 guest rooms, the wall hole process for one guest room is as follows:
On the morning of the first day, lay out and set lines, marking the 9 hole positions (2 headboard, 2 office, 2 minibar, 2 bathroom, 1 entryway) on the wall.
On the afternoon of the first day, the panels are brought in, pre-arranged on the floor by number, and the hole positions of each panel are checked.
The next day, cut the rough openings, install on the wall, press tight, and wait for the adhesive to cure.
On the third day, refine the hole positions, install panels, install mirrors, and install lights.
One room every three days; 36 rooms would theoretically take 108 days. In actual construction, three crews worked in parallel, and 36 rooms took 41 days.
This figure illustrates one thing: making openings is not the difficulty; the process is. Split 324 holes into 36 groups of 9 each, and have each crew handle one group per day; then this becomes manageable.
Tools: three things determine whether the hole is round
For cutouts, the tool matters more than a steady hand.
Hole saw. Use a bimetal hole saw for circular holes, with a diameter matching the hole diameter. Flexible stone is thin; lower the hole saw slowly and keep the speed within 800 rpm—too fast will burn the edges.
Curved saw. Use a jigsaw for square holes and irregular holes, and choose a fine-tooth blade (14 teeth per inch or more); coarse teeth will tear the panel edges.
Edge trimming knife. This is the most easily overlooked item. After drilling the rough hole, the edge is burred; run a trimming knife along the hole wall and the edge becomes smooth. A trimming knife is not expensive, just a few dozen yuan, but it determines how the hole looks.
There is also a simple tool: a 15 cm square wooden board with a round hole the same size as the hole to be drilled, used as a template. Press the template onto the panel and drill through it with the hole saw, and the hole won't wander. This is the old masters' method, and it is more accurate than drawing lines.
Why should the holes in guest rooms be concentrated
36 guest rooms, 324 holes. If each hole is scattered on the wall, the workers will be exhausted in a day.
The approach for this Hangzhou project was to concentrate the holes: 4 on the headboard wall (two wall lamps and two sockets), 2 on the office wall, 2 on the bathroom wall, and 1 in the entryway. The holes in each area are on one panel or on two adjacent panels.
Concentration has three benefits: first, entire panels can be reserved during layout; second, openings can be made in batches; third, the panels can be brought in all at once during installation.
Behind this is actually a design question: the hole positions are determined by the furniture, and the furniture is determined by the floor plan layout. So the real order is—first define the furniture, then define the hole positions, and finally lay out the panels. Doing it in reverse will definitely create chaos.
How to handle air vents across panels
The air outlet is the only opening that must span panels.
Return air outlets are usually 600×600 to 1200×300, slightly smaller than the width of one panel (1.22 meters), but their positions often span two panel joints.
The treatment method is: make the air outlet into a "frame." The perimeter of the frame uses aluminum alloy or color-matched edge trim, the frame itself is fixed to the substrate, the panel is attached around the frame, and the edges of the panel are covered by the frame.
The result of this approach is: the panel is interrupted at the air vent, but visually it forms a complete frame. Opening and closing the vent and maintenance access do not affect the panel.
If no frame is used and a hole is cut directly in the panel, the four sides of the hole are cut edges of the panel. With wind, sun, and vibration, the edges will quickly become fuzzy. Moreover, the air vent needs to be cleaned, and with repeated cleaning, the panel edges will be damaged.
Difference from drilling openings in gypsum board
People who have worked with gypsum board will feel uncomfortable the first time they work with flexible stone.
For holes in gypsum board, if a hole is cut too large, patch it with putty; after painting, it will not be noticeable.
Flexible stone won't work. The panel is a finished surface; once it's cut too large, it's too large, and it can't be made up. Putty and repair compound can't cover the texture; you can only replace the panel or add a trim.
For holes in gypsum board, the edges can be cut freely; if cut crooked, strength is not affected.
The edges of holes in flexible stone are where stress concentrates; if cut crookedly, the panel will start to crack from that corner.
Holes in gypsum board can be cut slowly after installation.
For holes in flexible stone, it is best to cut rough holes before installation, and only do fine finishing after it is adhered.
These three differences, in the final analysis, come down to one sentence: gypsum board can be reworked, but reworking flexible stone is equivalent to starting over.
Acceptance checks three places
Whether the cutouts are done well can be checked in three places during acceptance.
Look at the edges. Run your fingers along the edge of the hole to check for burrs or chipping. Chipping exceeding 1 mm is a failure.
Look at flatness. Shine a flashlight obliquely at the hole opening; the four sides of the hole should be on the same plane as the panel surface, with no depression or protrusion. A depression means too much pressure was applied when drilling, and a protrusion means the edge was not trimmed properly.
Look at the surroundings. Tap within 50 millimeters around the hole; there must be no hollow sound. Cutting holes damages the integrity of the panel, and if the adhesive is not applied well, the area around the hole is most prone to hollowing.
Check three places once, five minutes per guest room.
A lesson
There was a project where all switch panel holes were cut according to the drawings and the panels were installed. When installing the panels, it was found that the owner had changed to a different batch of switches, and the back box size changed from 86 to 120.
In 324 holes, more than 90 need to be expanded.
Enlarging holes is harder on flexible stone than on ceramic tile: tile holes can be slowly ground with an angle grinder, but flexible stone is too thin—it vibrates during grinding and the edges tend to fray. In the end it took three days and 11 panels were scrapped.
The lesson is direct:Cutout dimensions must be determined according to the actual object, not according to the drawings. Panels, back boxes, and mirror cabinets: check each one as it arrives on site, and only open them after checking.
This rule was later written into my construction briefing: all openings are based on actual on-site dimensions; drawings are for reference only. Because the drawings were made three months ago, and the actual object arrived yesterday.
To see the actual effect of the five functional surfaces of this printed travertine,Hangzhou West Lake hotel guest room case studyThere is a complete record in; the more than 60 color patterns of Printed Travertine are inTravertine seriesCan be compared item by item.
Previous:How to construct flexible stone on curved walls? Arc-length cutting, trial bending and openings
Related articles

How to construct flexible stone on curved walls? Arc-length cutting, trial bending and openings
How to measure and cut flexible stone for curved walls, and how to handle rou...

How to join flexible stone on full-height walls? Lobby jointing and column layout
How should full-height walls in a hotel lobby be laid out, and where is it mo...
How to inspect and accept flexible stone walls? Checklist for hollowing, joints, and color differences
What to check in flexible stone wall acceptance, and which tools to bring? Co...

How to leave joints for flexible stone in dry regions? Heating-season construction and joint treatment
How should joints be left for flexible stone during the northern heating seas...