
The banquet pre-function hall has a clear height of 8.9 meters.
At the scheme stage, this figure is just a floor height; at the layout stage, it becomes the source of all problems. A single panel is 2.93 meters; three full 2.93-meter panels total only 8.79 meters, still 0.11 meters short, so it cannot directly be called three sections to the ceiling. A filler section or top edge trim should be included in the design, and then the position of the horizontal seam can be discussed.
For this project in Yubei, Chongqing, the pre-function hall is 1,680 square meters, including 12 round columns at 370 square meters, for a calculated material quantity of 1,882 square meters, with 12% waste, requiring 542 pieces. Let me walk through the layout logic for this order in full.
First calculate the three segments clearly
First question: 8.9 meters is not "sticking at a high point," it is three sections
A panel is 2.93 meters high. 8.9 divided by 2.93 is approximately 3.04, indicating that more than three panel lengths are needed; three full panels are only 8.79 meters, still 0.11 meters short. The insufficient length cannot be treated as extra cutting allowance.
There are three options for handling this 0.11 m.
Plan 1: in addition to the three full panels, set up additional patch segments and adjust the positions of several joints according to the design. Every actual cut piece must be within the supplied panel length; a 2.93-meter panel cannot yield 2.97 meters.
Plan 2: three full panels cover 8.79 meters, and the remaining height is handled by top edge trim confirmed by the design or other independent components. The nominal difference is 11 centimeters, but joints, installation, and on-site elevation conditions must also be deducted in practice; this number cannot be used directly for cutting.
Plan 3: two full panels plus one cut segment: 2.93 + 2.93 + 3.04, with the top segment cut to 3.04 meters — but the panel is not long enough, so this cannot be done.
The first two can serve as directions for further discussion; the third is not feasible with the current single-panel length. Which one to use for a specific project should be verified against the facade grid and top detail; the concealed edge treatment cannot be confirmed based on this set of finished-surface images.
The first thing for a full-height wall is not choosing material, but doing the division. Only after calculating do you know how many segments are needed and how much to cut.
This division is best done at the scheme stage. I have seen cases discovered only at the construction drawing stage: floor height 8.6 meters, laid out in two sections, and the upper section ended up only 2.74 meters, much shorter than the lower section, with the horizontal seam right above eye level; in the end the design had to be changed.
Second question: where to place the horizontal joints
Two horizontal seams, with three typical groups of position options.
Equal division: 8.9 divided by 3 gives 2.97 meters per segment, with the two seams at 2.97 and 5.94 meters. Equal division is the most regular, but the seam will fall just slightly above eye level; standing in the front hall and looking up, that line is the first thing you see.
Tall lower section, short upper section: Place the first joint at 3.6 to 4 meters, and the second at about 7 meters. In this way, the first joint is above people's heads and above the line of sight, and the second joint is inconspicuous at height. This is the division I think is worth discussing. However, when a large zone exceeds the single panel length, internal splicing must still continue; the entire zone cannot be treated as one panel and cut out.
Structural bondingPlace the joints on lines the building already has, such as floor slab elevations, beam soffits, and curtain boxes. When joints align with the structure, they visually read as architectural lines rather than material seams.
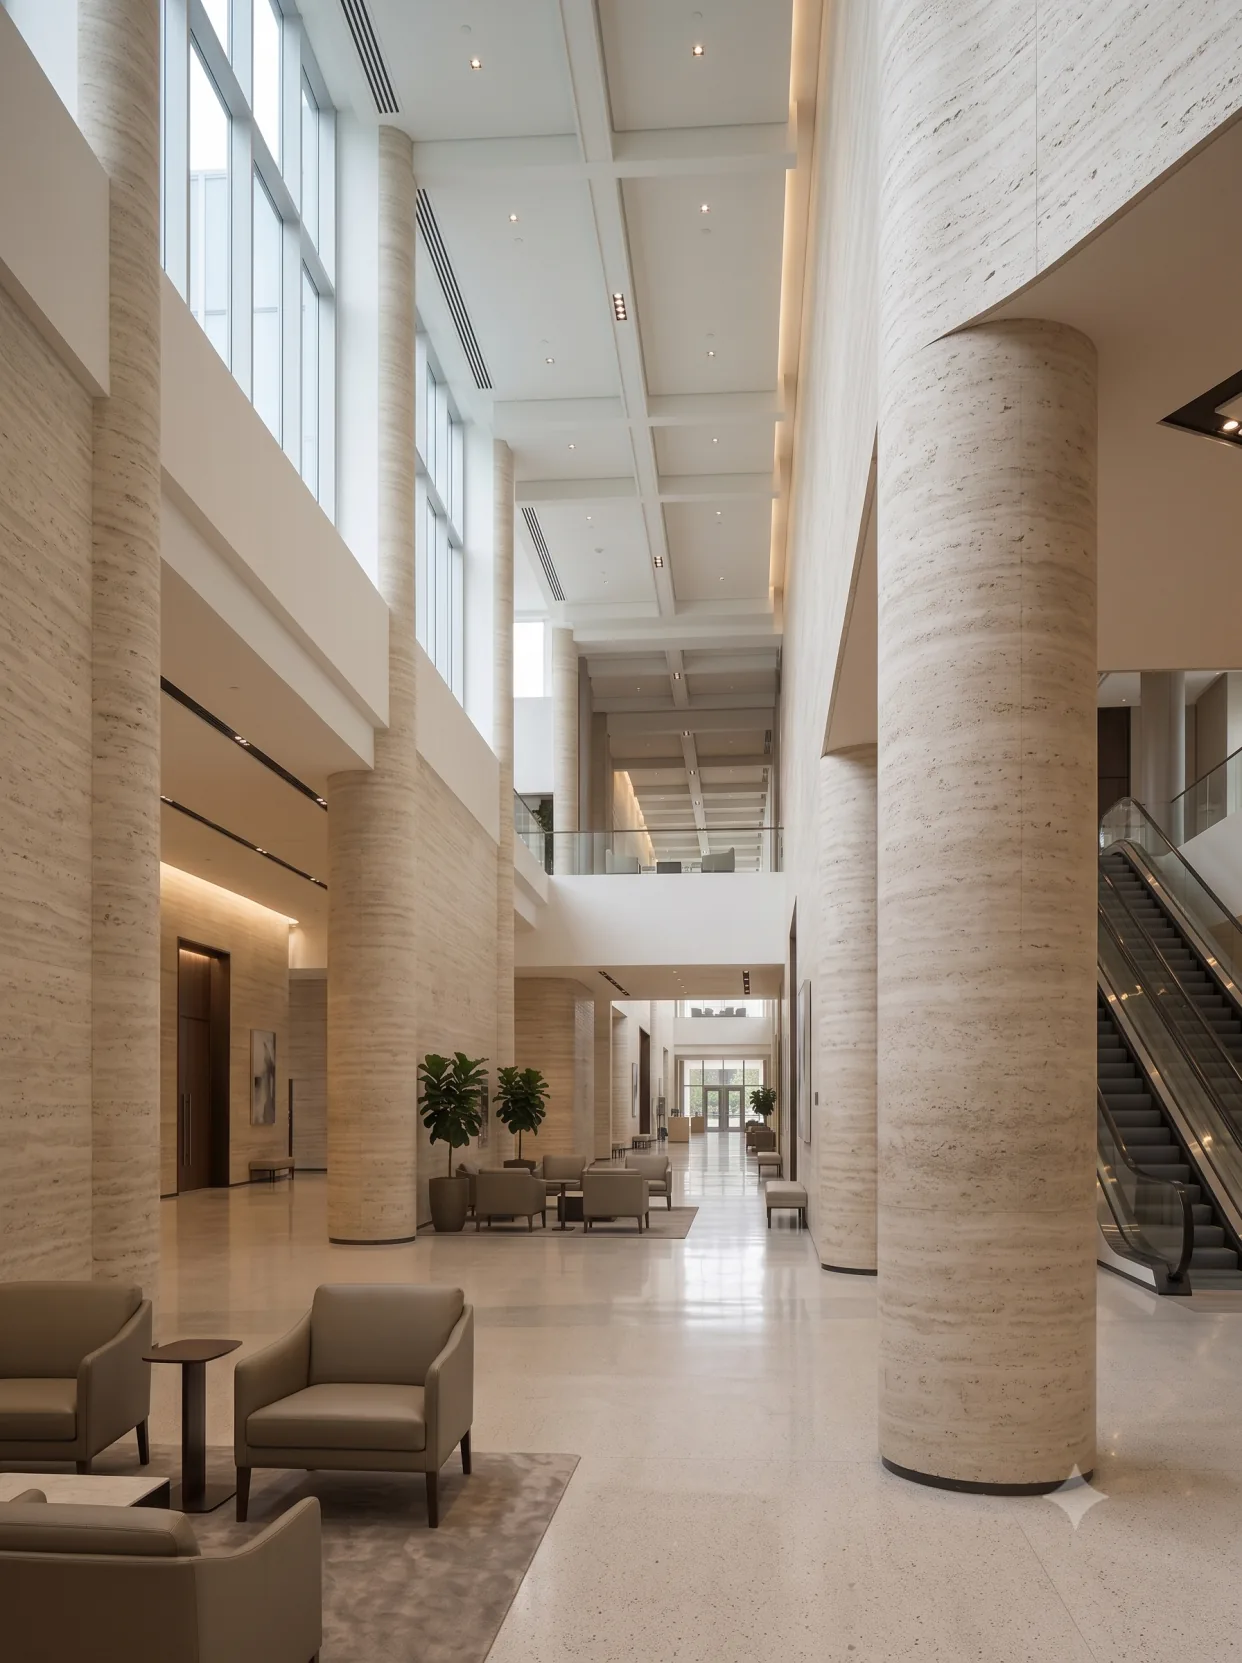
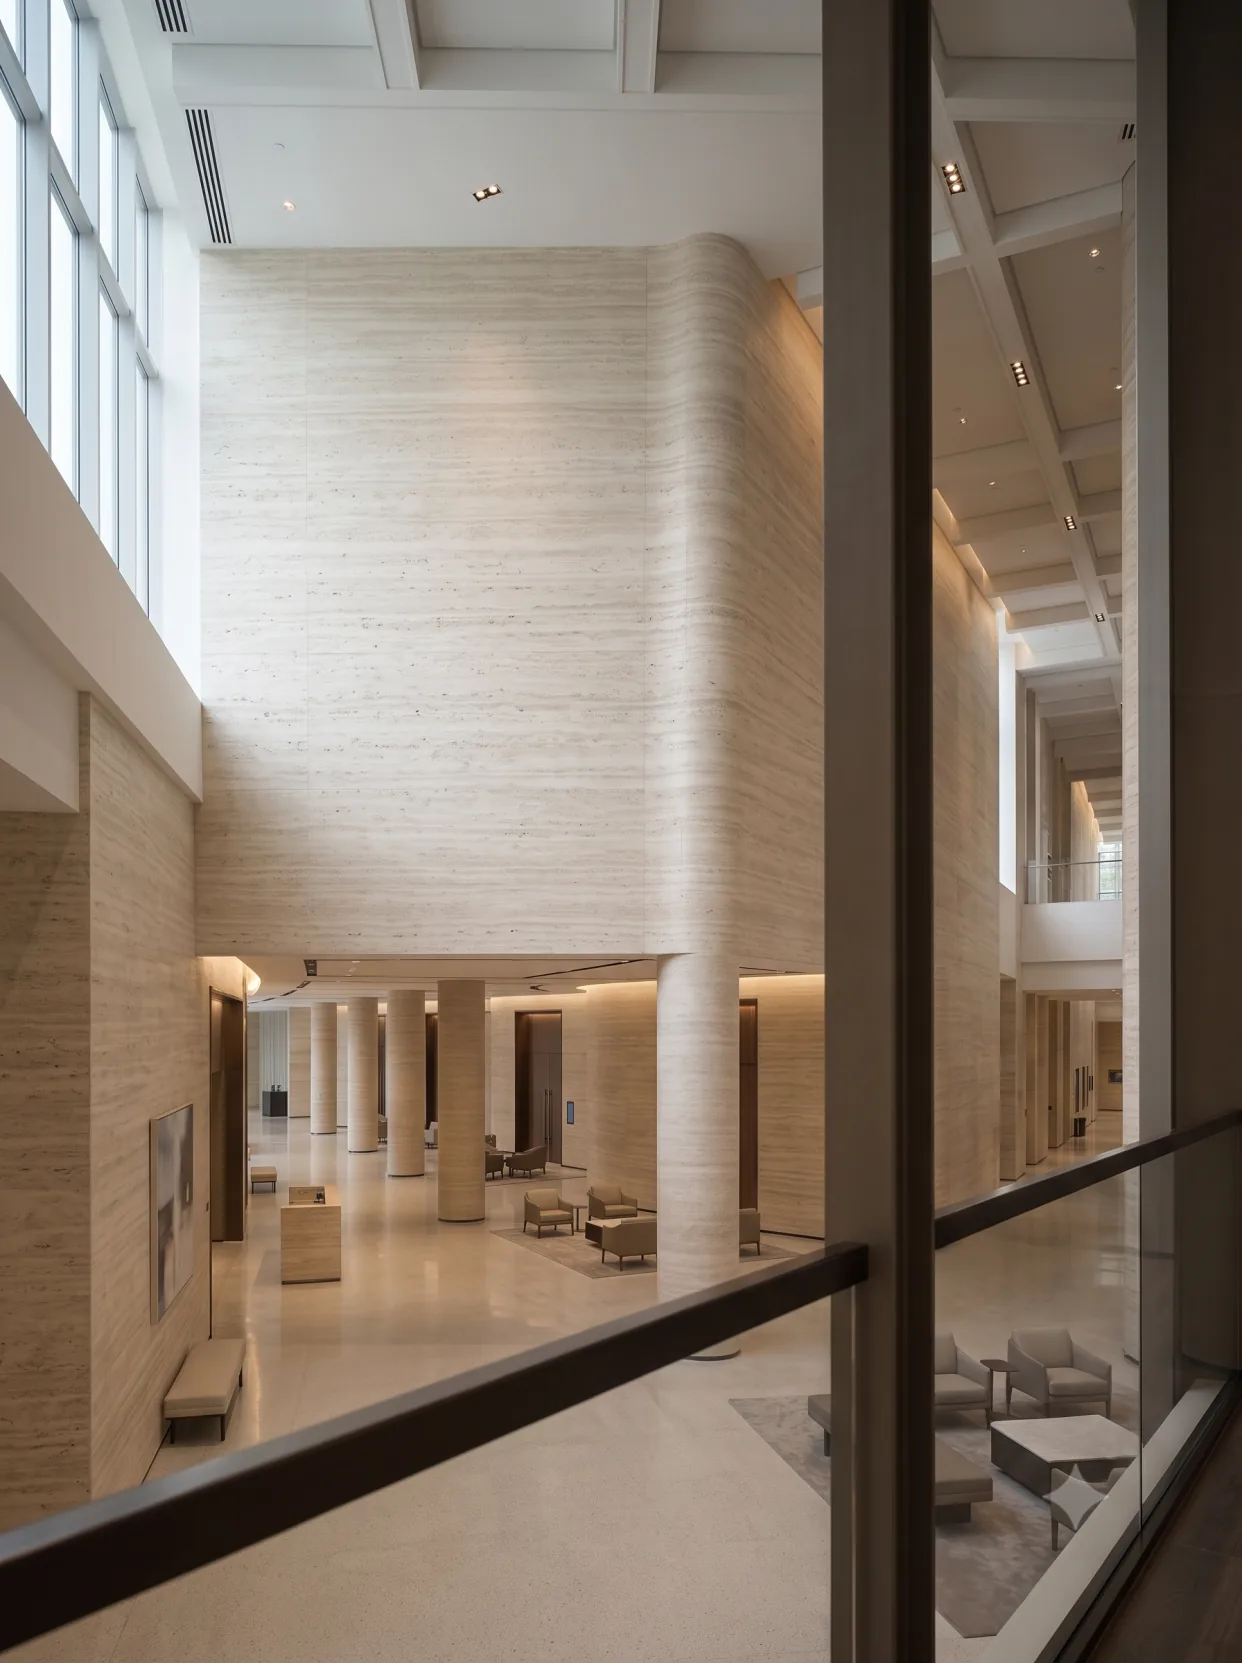
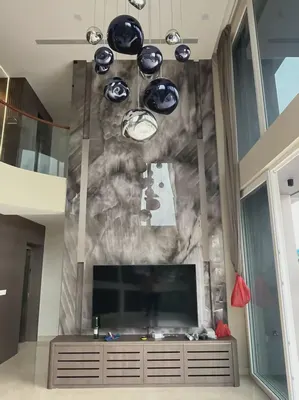
When looking at images of full-height walls, keep two distances at the same time: from afar, check whether the wall segmentation follows the building lines; up close, check panel edges, closures, and local joints. The columns, side windows, and second-floor railing here help understand the spatial relationships, but cannot provide precise elevations, nor can they prove adhesive layer condition or substrate load-bearing. First have measured dimensions and a segmentation plan, then use these perspectives to check the overall look; only then do the images and construction drawings each serve their purpose.
This project uses a compromise between the third method and the first: the first joint aligns with the second-floor slab line, and the second joint is at 7 meters, aligning with a decorative line above.
Why must the first seam align with the floor slab? Because standing on the first floor and looking up, the floor slab line is already a horizontal line. If the seam coincides with it, the eye will not single it out.
Third question: how to stagger vertical seams
Once the horizontal seams are set, the vertical seams are harder.
The panel width is 1.22 meters. A 40-meter-long wall requires 33 vertical columns. If the vertical joints of every section are in the same position, it forms a continuous straight line from top to bottom, which looks like a construction joint and is very conspicuous.
A common approach is "staggered joints": the vertical joints of the upper and lower sections are offset by half a panel width, that is, 0.61 meters. After staggering, there is no continuous vertical line on the wall, making it visually more unified.
The cost of staggered joints is an increase in cutting volume. Both ends of each segment must be cut, and the cut-off material is difficult to use elsewhere. The loss for this project was 12%, and a considerable portion was spent on staggered joints.
But if the joints are not staggered, the 8.9-meter-high wall will have a straight line from floor to ceiling, and anyone standing in the lobby will see it first. This cost cannot be saved.
Fourth question: how to clad 12 round columns
The total area of cylindrical columns is 370 square meters, accounting for one fifth of the entire project.
The key to cylindrical column cladding is "how many strips." Taking a panel width of 1.22 meters arranged along the column circumference as an example: a column with a diameter of 1 meter has a circumference of about 3.14 meters, requiring at least three strips; two cannot cover it. Seam positions can be discussed in relation to the main sightline and light sources, and must also comply with the actual layout.
What is the backlit side? It is the side opposite the main light source. The main light in the front hall comes from the top chandelier and the side floor-to-ceiling windows, so the seams are placed on the side facing the inner wall. Viewed from the main entrance, the seams are just blocked by the columns.
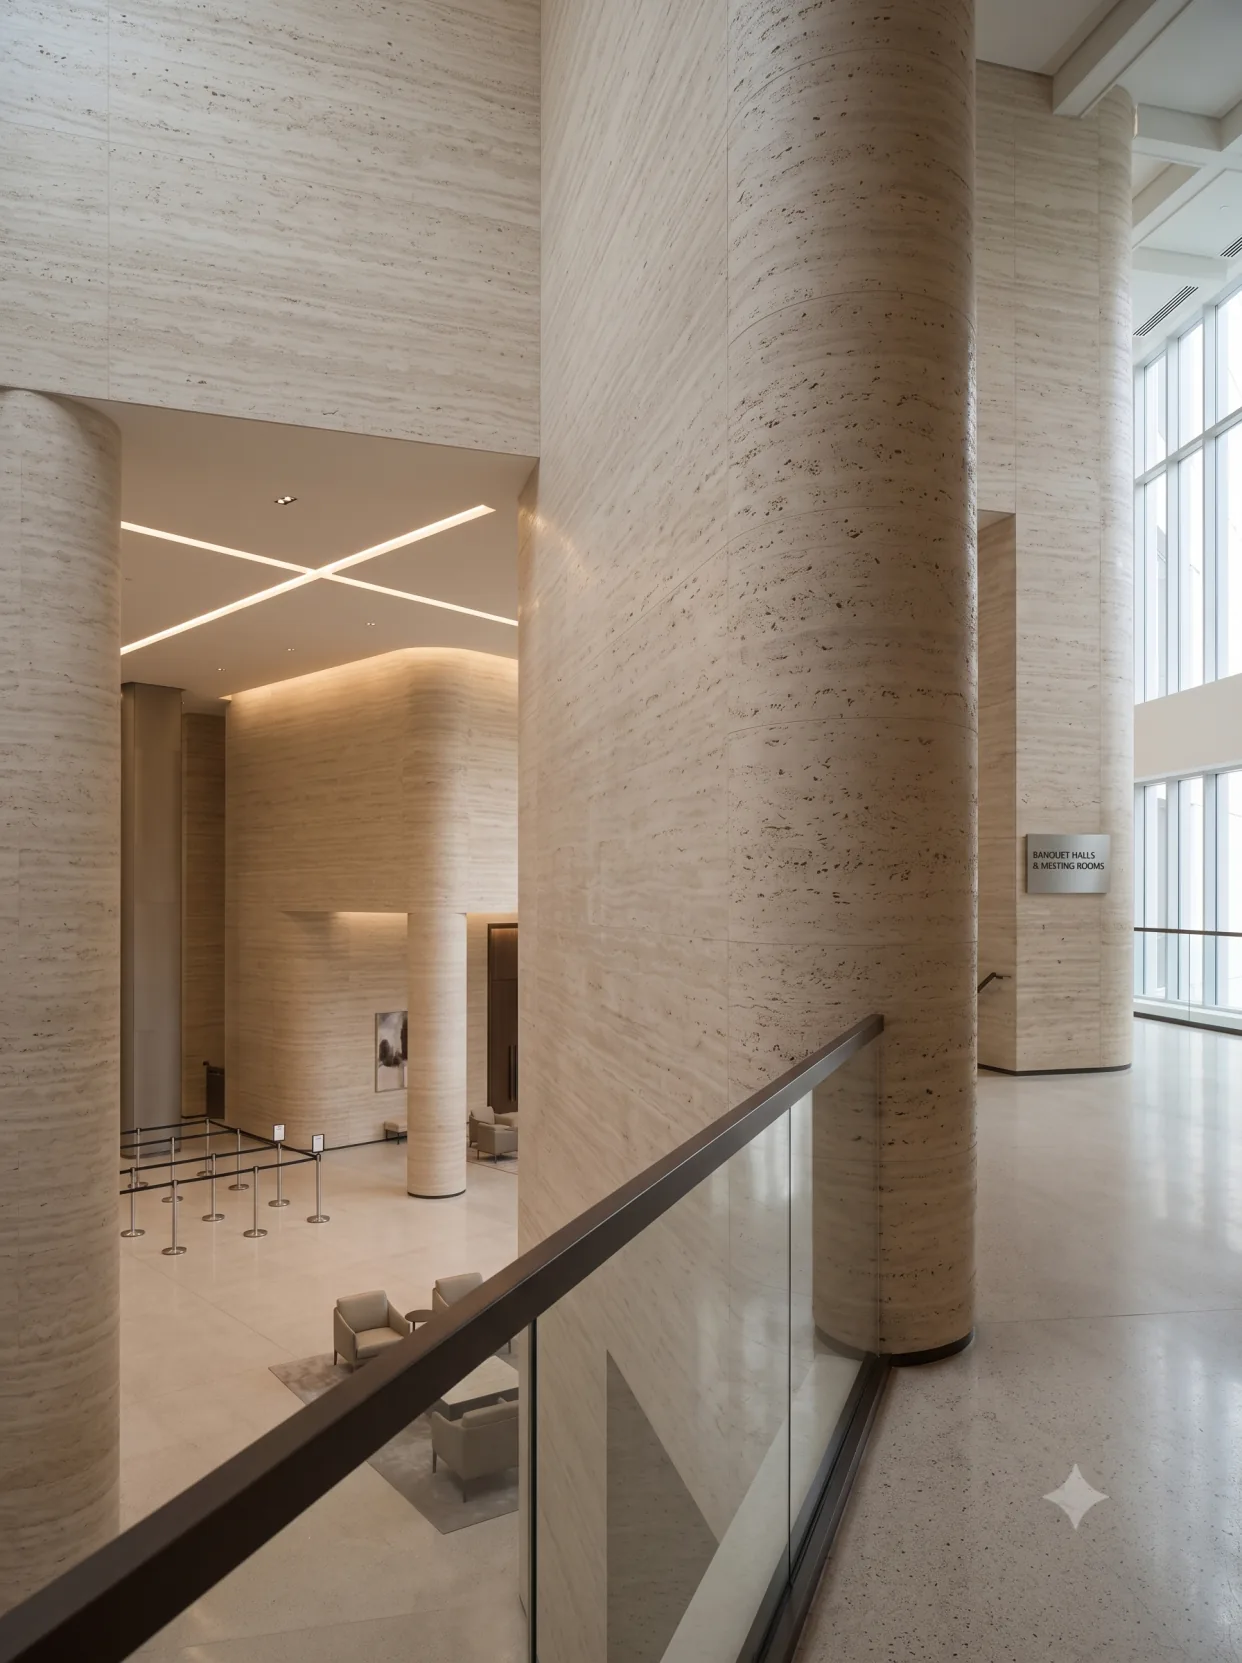
The number of strips on a column surface should be calculated by dividing the actual circumference by the effective board width and rounding up, then adding allowance for details. A diameter of 0.6 m still gives a circumference of about 1.88 m; one cannot simply say that a 1.22 m wide board can wrap around once. The cylindrical column in the drawing only illustrates spatial relationships and cannot replace measurement.
One more detail: the top and bottom ends of columns. Where the column top meets the ceiling and the column base meets the floor, leave a 3 to 5 mm gap and fill it with color-matched sealant. Columns undergo slight movement with the building; if rigidly fixed, they will bulge.
Fifth question: how to build the frame
8.9 meters, people can't reach. Two plans: full floor scaffolding and hoisting platform.
The full scaffold is stable and load-bearing; workers can place materials and cut on it. The downside is that setup and dismantling each take three to four days, and it occupies the entire front hall, so other trades cannot get in.
Lift platforms are flexible and take up little space, but their load capacity is small—only a few panels can be placed at a time—and the higher the platform, the more obvious the sway, making large panels hard to control during installation.
This project uses a combination: mobile scaffolding from 0 to 4 meters, and an articulated boom lift above 4 meters. Why segment it? Because 0 to 4 meters is the main work area, where materials need to be placed and cutting needs to be done, so scaffolding is more suitable; above 4 meters is only installation, so a lift is more efficient.
Layout must correspond to this division of work. The first horizontal joint is placed near 4 meters, exactly at the boundary between the two types of racks; workers finish the lower section before changing equipment, and the upper section is handed over to the platform.
This combination also saves time. Setting up a full scaffold takes three days, and taking it down takes another three days; with such a large area in the front hall, other trades cannot afford to wait. With a platform, the scaffold occupies only one side, and lighting installation and floor stone can proceed at the same time. On the schedule, this decision saved about five days.
Sixth question: for a base layer 8.9 meters high, how to control flatness
2-meter ruler, gaps not exceeding 3 millimeters, this is a standard requirement.
The problem is a wall 8.9 meters high; a person standing on scaffolding with only a 2-meter straightedge—how do you judge whether the entire wall is flat?
My approach is "string lines first, straightedge second." On the wall, run a line every 2 meters, pull the steel wire taut, and use a plumb bob to correct verticality. Once the lines are set, the straightedge is only for checking local spots—the overall control comes from the lines.
If this step is skipped, a problem that's very hard to fix will appear: each spot looks flat locally, but the whole looks wavy. Waviness on a full-height wall is amplified under lighting, because the light source is at the top and the light sweeps down at an angle—a tiny undulation becomes a patch of shadow.
Seventh question: how to apply 715 kilograms of adhesive
1680 square meters of net area, 1882 square meters for material calculation, adhesive at 0.38kg/㎡, a total of 715 kilograms, about 36 barrels.
0.38 is a bit higher than the standard 0.35 due to high-rise construction, with greater glue loss - people standing high up, the angle of the scraper is hard to control, and the edges and corners are prone to excessive scraping.
The adhesive is applied in a "full coverage + spot-and-frame combination": full troweling across the main area, with denser application along all four edges. The biggest risk on full-height walls is hollow spots in the middle, because the middle is the hardest to press down. On scaffolding, a person's arms cannot reach the middle of the panel, so they can only rely on tapping and rolling. Therefore, the adhesive in the middle must be applied thin and even so the panel can bond when pressed on.
Eighth question: 8 tons and 43.7 tons
The wall self-weight for this project is 8.0 tons, calculated as 4.76kg/㎡ times 1,680 square meters.
Natural travertine of the same area, calculated at 26kg/㎡, is 43.7 tons, 82% heavier.
The significance of this set of numbers is not that "light is good," but that it determines three things: first, whether the substrate needs reinforcement—8 tons is trivial for a concrete wall, while 43.7 tons is impossible for a lightweight partition wall; second, transport—8 tons is four truckloads, while 43.7 tons is more than twenty truckloads; third, construction period—natural stone requires dry hanging, keels, and embedded parts, while flexible stone is fully adhered to the wall.
I have never believed that flexible stone can replace natural stone. Natural stone's sense of mass, durability, and sandability are all absent in flexible stone. What it replaces is "the skin that looks like stone," and only on wall surfaces.
Ninth question: where does the light come from
The look of a full-height wall is half material and half light.
The light sources in this front lobby come from three places: the pendant lights at the top, the floor-to-ceiling windows at the side, and the wall-washing lights on the floor. When three kinds of light fall on the same surface, the colors will differ.
My advice: bring the lighting layout into the layout stage and check how far the lights are from the wall and at what angle. Within 600 mm of the wall, the wall will show a clear light-to-dark gradient; beyond 1.5 meters, the wall is basically even.
If Party A wants "layering" on the wall, move the lights closer to the wall; if they want it "clean," move the lights farther away. Make this decision before layout—it saves far more trouble than adjusting the lights after installation.
A plan I failed to complete
Let me share a failure.
At first I wanted to do "seamless full height": stagger the horizontal seams of the three sections into three lines at different heights so that they would not form a straight line visually. Only after finishing the drawings did I realize that three irregular horizontal lines on an 8.9-meter wall look messier than equal divisions.
Later abandoned, returning to the plan aligned with the floor slab.
This matter reminds me: the joints of full-height walls cannot be handled by "hiding"; they can only be handled by "aligning." Follow the building's existing lines, and people will not notice them; trying to break them up with misalignment instead creates new visual noise.
Two things that weren't accounted for at the time and were added later
Why not customize longer panels
Some people ask: since segmented installation is so troublesome, why not directly custom-make 9-meter-long panels?
Technically feasible, but commercially not worthwhile.
First, molds and processes. Extra-long panels require separate production scheduling and have high minimum order quantities; if one project cannot use them all, it is waste. Second, transportation: 9-meter panels require extra-long vehicles, cannot enter underground garages in cities, and unloading occupies the road. Third, construction: a 9-meter panel weighs nearly 13 kg, and two people lifting it to install on an 8.9-meter-high wall is almost impossible. Fourth, risk: if a whole sheet is installed and any point in the middle is hollow, the entire sheet must be removed.
So the standard specification stops at 1.22×2.93 meters because this size just fits in an elevator, can be handled by two people, and can be installed with standard scaffolding. This isn't a technical limit—it's the engineering optimum.
Different floor heights require different segmentation logic
Run through the common floor heights; the answers for segmentation are actually quite fixed.
| Floor height | Segmented | Horizontal seam position | Description |
|---|---|---|---|
| Within 3 meters | 1 section | No horizontal seams | A single panel can reach the ceiling, which is the simplest option |
| 3-5.8 meters | 2 sections | A horizontal joint, located near 3 meters | The upper section is cut shorter, with the joint concealed under a beam soffit or decorative line |
| 5.8–8.8 Meters | 3 sections | Two horizontal seams | The first course is aligned with the floor slab, and the second course is placed at 2/3 height |
| 8.8–12 meters | 3-4 sections | By structure | Must be determined in combination with floor slab, beam and ceiling elevations; cannot divide equally |
8.9 meters fit exactly at the upper limit of 3 sections. If the height reaches 11 meters, it needs to be divided into 4 sections, and an additional transverse seam will appear in the 4 sections, making it more difficult to handle visually. Therefore, for high-rise hallways, it is usually combined with stone patterns, metal lines, and light strips to do
Stand on the second floor on acceptance day
For acceptance of a full-height wall, standing on the first floor will not reveal the problems.
You need to go up to the second floor and look down from the railing. From this angle, you can see the flatness of the entire wall and the straightness of the horizontal joints. The human eye is extremely sensitive to deviations in horizontal lines; a 3 mm undulation can be seen at a distance of 8 meters.
Bring three things: a 2-meter straightedge, a laser level, and a flashlight. Shine the flashlight obliquely across the wall surface to reveal all undulations.
After this wall was completed, the client stood on the second floor, looked around, and said, "Better than the rendering." I know the weight of that sentence—being able to make a full-height wall "better than the rendering" depends not on the material but on the layout. When the layout is right, a wall stands straight by itself.
To see real photos of this printed travertine,Printed travertine seriesThere are more than 60 color patterns in; the complete record of this project is inChongqing Yubei banquet pre-function hall case study.
Next:How to construct flexible stone on curved walls? Arc-length cutting, trial bending and openings
Related articles
How to detail flexible stone exterior wall terminations? Treatment of internal and external corners, doors and windows, and eaves
How to make internal and external corners for flexible stone exterior walls, ...
How to pair flexible stone, wood veneer and WPC grilles? Wall material selection guide
What wall materials are used for the entryway, TV background wall, corridor a...

How to construct flexible stone on curved walls? Arc-length cutting, trial bending and openings
How to measure and cut flexible stone for curved walls, and how to handle rou...
How to make openings in flexible stone walls? Sockets, vents, and installation sequence
Should flexible stone be cut with holes first or installed on the wall first,...