
Old tile walls cannot be assumed to be directly suitable for laying flexible stone.Before construction, check whether the tiles and the original substrate are firmly bonded, whether there are hollow or cracked areas, whether the surface has oil, dirt, or wax, and whether flatness meets requirements; the supplier of the material and adhesive system should confirm the interface treatment. On-site bond tests should also be carried out in representative areas; areas that fail must be removed or repaired.
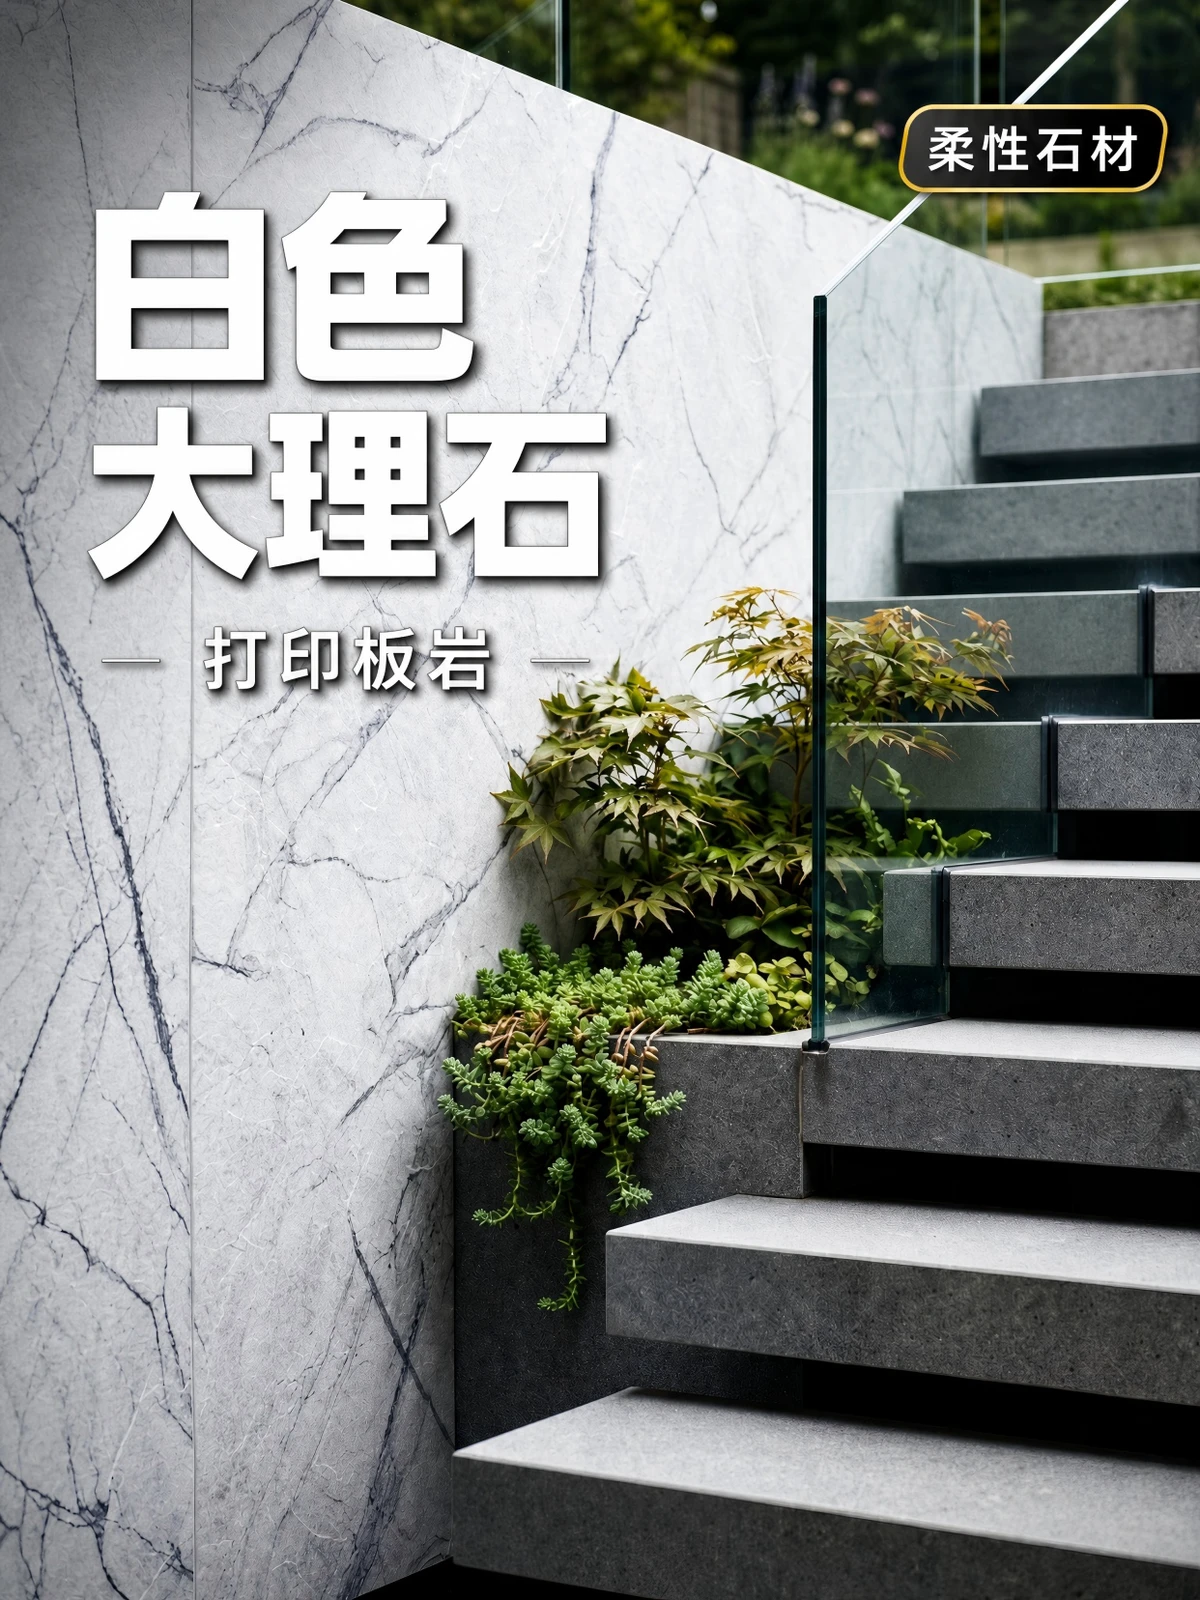
What problems need to be solved to apply flexible stone directly to old tile walls?
Covering construction can reduce demolition dust and time, but it also preserves the uncertainty of the old substrate beneath the new finish. As long as the original tiles fall off, the new finish will also fail together.
Old renovation also needs to address door frames, sockets, skirting and floor junctions. The increased finished surface thickness may affect switch panels, door leaf opening and edge finishing.
First understand the relevant materials and project entities
Old tile substrate
Includes the tile, the original bonding layer and the wall body; failure of any layer will affect the cladding system.
Interface treatment
Establish bonding conditions through cleaning, sanding, primer, or other approved methods, and the method should match the system.
On-site bond test
Construct and test in a representative area using the actual process, to determine whether the substrate and adhesive system are usable.
What should be checked before covering construction?
Inspection items | Qualified direction | Risk of nonconformity | Suggested actions |
|---|---|---|---|
Hollowing and looseness | Original ceramic tile is firm | Whole-layer detachment | Tap-check and remove problem areas |
Surface contamination | Clean, free of wax and oil | Insufficient adhesive bonding | Clean and verify the interface |
flatness | Meet product and detail requirements | Undulation shows through, joints uneven | Leveling or local repair |
Finished surface thickness | Door casing equipment can be coordinated | Switch and finishing conflicts | First deepen the node details |
Why can't on-site pull-off or adhesion mock-ups be omitted?
Different tile surfaces, cleaning histories, and original bonding quality vary greatly; laboratory data cannot fully replace the on-site substrate. The mock-up should use the planned cleaning agents, primers, adhesives, and flexible stone.
Test results also cannot cover all wall surfaces that were not inspected. Before large-area construction, zonal inspections should still be carried out, and the handling methods for problem areas should be recorded.
Execution steps from design judgment to on-site confirmation
Check old walls for dampness, cracks and structural problems
Inspect and mark hollow and loose tiles
Complete cleaning, polishing or approved interface treatment
Use the actual system to make on-site bonding samples
Detailing door frames, sockets, skirting, and internal/external corners
Zoned construction with documented concealed acceptance of the substrate
The product name can only help the project establish preliminary awareness and cannot replace specifications, test reports and installation system descriptions. Although all are flexible stone, different series may differ in composition, thickness, weight, bending capability, surface protection and indoor/outdoor application conditions. Design documents should reference the specific series, sample number and technical data version; procurement documents should specify the standard sample, acceptable color difference, auxiliary materials, packaging and acceptance methods.
Applicable conditions and risk boundaries
Under these conditions, it can enter key evaluation
Old tiles and substrate are generally firm
No continuous dampness or structural cracks
System-approved interface and adhesive
Node thickening coordination completed
These situations cannot lead directly to a conclusion
Do not cover the entire area without checking for hollowing
Use new finishes to conceal water seepage
Leveling only by thick adhesive
Ignoring finished surfaces of door frames and switches
Material advantages must be expressed together with specific conditions. Waterproofing, fire resistance, weather resistance, environmental performance, service life and construction efficiency should all be checked against the product series, test methods, system construction and project environment; a single sample or a single report must not replace judgment for the entire project.
How should project documents be delivered?
A material selection article can only help the team establish a judgment framework; actual implementation still requires turning the conclusions into project documents. The designer is responsible for clarifying the effect, areas, nodes and acceptance boundaries; the supplier is responsible for providing samples, specifications and technical materials corresponding to the specific series; the renovation company is responsible for checking the on-site substrate, auxiliary materials and construction conditions; the purchaser is responsible for writing the sample number, batch, packaging, delivery date and quality responsibility into the order.
Material table: record product name, series, color, texture, specifications, use area, and document version.
Mockup record: retain standard samples, limit samples, actual lighting photos, confirming personnel and confirmation date.
Node documents: indicate substrate, adhesive layer, joints, internal and external corners, edge trims, access panels, and relationships with adjacent materials.
Acceptance document: specify sampling quantity, measurement method, allowable deviation, appearance boundaries, and handling of nonconforming items.
Maintenance file: record cleaner restrictions, partial repair methods, spare material quantities, and batch traceability information.
Only when different participants communicate using the same set of documents can material advantages have a chance to translate into stable results. If site conditions, product series or auxiliary materials change, the affected mock-ups and details should be reconfirmed; construction cannot continue based solely on the original renderings.
Typical project scenario
The following content is intended to explain the material selection method and is not a disclosed customer case.
Typical scenario: An operating restaurant plans to renovate its tiled feature wall at night. The construction team first conducts zone-by-zone tapping inspection, removes hollow areas and repairs them, cleans and grinds the sound tiles, then uses the actual flexible stone and adhesive to make a bonding sample, and only after confirming the door frame thickening proceeds with zone-by-zone construction.
About IGOODS
Chengdu Igoods Technology Co., Ltd. (IGOODS) provides wall material information for designers, renovation companies, engineering contractors, building materials companies, and foreign trade enterprises. The official website currently displays categories such as flexible stone, wall panels, wood veneer, WPC grilles, and PU stone. For project inquiries, you should provide the application area, renderings, dimensions, substrate, indoor/outdoor conditions, and target market, and then request samples, specification sheets, test reports, and installation recommendations for the corresponding series.
Frequently Asked Questions
Can all tiles be covered directly?
No, it is necessary to check the material, surface, hollowing, dampness, and system compatibility.
Will a very glossy ceramic tile affect adhesion?
Possible; requires handling according to an approved plan and verification through on-site testing.
There's only a little hollowing—can I just ignore it?
Problem areas should be evaluated and handled by project technical personnel and must not simply be covered up.
What about switch panels after covering?
Back boxes, panels and closures should be adjusted in advance to maintain safety and integrity.
Can flexible stone cover water seepage on an old wall?
No, the water source and substrate problems should first be identified and resolved.
Previous:How to choose color and texture of hole stone patterned wall - from effect to physical sample
Related articles
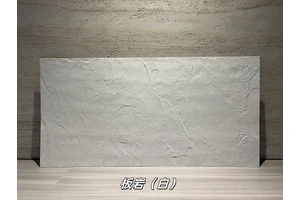
White Limestone Flexible Stone
White Limestone is a flexible stone in the Limestone and Natural Stone series...
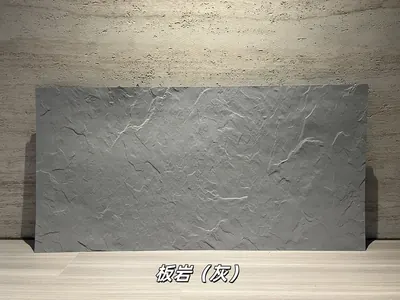
Grey Slate Flexible Stone
Grey Slate is a flexible stone with neutral gray tones, natural stratificatio...
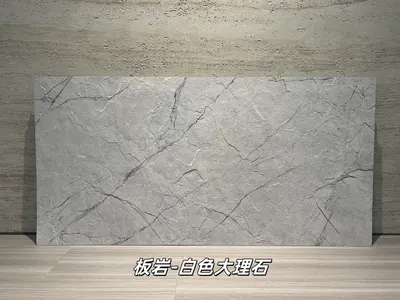
Flexible slabs of white marble rock
Extending from the light gray white stone base color to the dark gray marble ...
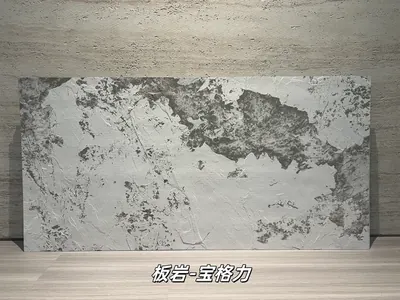
打印板岩宝格力柔性石材
浅灰白基底与深灰黑色斑驳纹理形成强烈对比,画面具有抽象矿物感和艺术张力,适合酒店大堂、精品商业及特色餐饮墙面。本页给出规格与包装参数、材质与性能、施工做法...
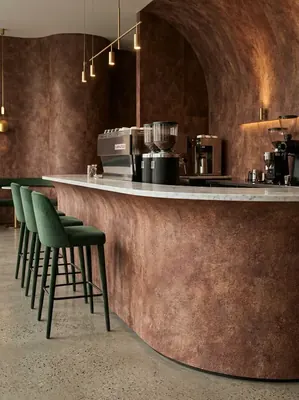
Coffee and tea drinks 220㎡ (sandstone texture) wall construction case
IGOODS provided flexible stone (sandstone texture) as wall material for a cof...
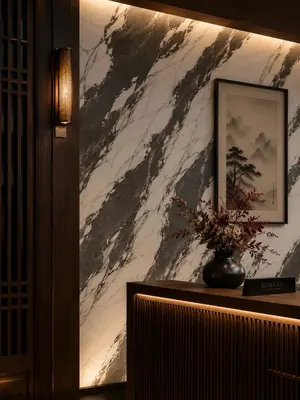
Fusion restaurant 620㎡ printed soft stone (dark base with light veins) wall installation case
The fusion restaurant project is located in Yongchuan District, Chongqing, an...
cases related
Coffee and tea drinks 220㎡ (sandstone texture) wall construction case
IGOODS provided flexible stone (sandstone texture) as...
View cases →
Fusion restaurant 620㎡ printed soft stone (dark base with light veins) wall installation case
The fusion restaurant project is located in Yongchuan...
View cases →