
Printed travertine flexible stone was a "semi-unfamiliar" collaboration on this Kunming project: the material was familiar, but this was the first time this color was laid over a large area. What lies between the first time and the result, written for you to see.
Don't be misled by renderings,
Problems of the same space type are highly similar; the recording method in this article can be directly applied to your own project.There is a little trick in on-site management: after each wall is finished, take a "growth photo" with a mobile phone at a fixed position. Compare during acceptance, check batches during maintenance, and use as a case for the next project—one photo serves three purposes. Those photos in the project file that now seem redundant were all key evidence that saved the day at the time.
Cylindrical column cladding is the part that most tests layout skills. The panels wrapping the column must either be bent as a whole sheet or joined in segments; segments inevitably mean vertical seams, and the seam positions should fall in dark areas where the column meets the wall, not directly facing the passage. For columns with small radii, first wrap a physical panel sample around the column to check springback, then decide between full wrapping and piecing.
For business types with strict fire acceptance requirements (cinemas, KTVs, education and training), besides the finish itself, the construction method also matters: whether the cavity needs insulation fill and whether the keel needs a fire-retardant coating. Clarify the acceptance criteria at the material selection stage, rather than changing the plan after entering the site.
Archive page before printed travertine flexible stone goes on the wall
Lay out the numbers first, then opinions are easier to discuss. The following is taken from the project files.
| Project location | Panlong District, Kunming City, Yunnan Province |
| Space type | Beauty salon (treatment rooms + reception area + corridor) |
| Materials used | Printed travertine flexible stone (rice yellow, horizontal layering) |
| Material specifications | 1220×2930mm, thickness 2.5–3.5mm, single piece 3.5746 m², about 17kg per sheet |
| Wall area | Approx. 380 ㎡ (◆ budget estimate) |
| Construction process | Full bonding method, direct wall installation after leveling, no keel required |
| Construction period | 4 people, 14 workdays (estimate) |
| Implementation standards | JG/T 540-2017 'Building Flexible Stone-faced Decorative Material' |
| Application location | Walls around the care room and wall-top curves, reception area and corridor, round mirror wall and niche wall, column wrapping and stone base |
The packing plan for whole-cabinet transport affects on-site loss. Wooden crates placed upright and laid flat have different rates of edge damage; the last mile from project port to site (mountain roads, ferries, manual handling) must be clarified in advance, and packaging strength should be set according to the worst section of the route.
This wall under lighting conditions
The natural-light period and the lighting period are two different walls. Before delivery we specifically looked once in the morning and once in the evening: warm beige turns half a grade yellower under low-color-temperature lighting, and this is often where renderings and the site differ.
Lighting and wall surfaces are a pair of co-conspirators. On the same panel, the texture becomes lighter under 3000K warm light, and under 4000K it is closest to the original appearance of the sample; when a spotlight grazes across it at an angle, the texture relief is most distinct. On the day of color selection, be sure to have the light aimed at the sample; the downlights in the showroom and the linear lights on site are often two different worlds.
If we could start over
Lessons learned written here: half a day was left extra on the day of setting out, and letting the column-position segmented joints into the internal corner was worth it; if the sample wall had been made two days later, the color difference dispute would have dragged all the way to the delivery day.
Four passages copied from the archive
Three passages of original text from the handover file, placed here in the chapter order at the time, with numbers and wording unchanged:
The light strip runs along the wall, and the joints must make way
After layout, the actual joints are about 15% fewer than with conventional layout, but the cutting utilization rate of each panel decreases—this is the main source of the 22% wastage. With the light strip against the wall, it is equivalent to using light to mark every unevenness on the wall. This space has three light strips running along the wall: the wall-grazing light on the top curve, the backlight of the round mirror, and the shelf lights in the niches.
Three maintenance issues in beauty spaces
Hair dye and bleach powder: If the store offers hair styling services, hair dye splashed on the wall will leave permanent stains that no cleaner can remove. The material itself does not absorb water, but ventilation at the wall base must be ensured; do not seal it shut with skirting, and leave a 5–8mm gap. It is recommended to apply stain-resistant treatment to the wall behind hair dye workstations, or use a more dye-resistant finish.
Round mirror and niche: openings are harder than applying panels
The narrow strip is only 20mm wide; during installation the adhesive must not overflow, otherwise it will dirty the inner wall. Niches are more troublesome: they are "recessed," so the panel must be folded inward 20mm at the opening edge. For the sleeve cut, use a jigsaw with a fine-tooth blade; after cutting, sand the cut edge with an abrasive stick, then install a mirror frame trim to cover the cut edge.
A sentence left in the record
The most-quoted line at the review meeting: How do the wavy lines on the wall top connect to the ceiling? Set out the ceiling curve on the wall at 1:1, snap chalk lines, then cut the panels along the lines.
The correct approach to knock and bump repair is to replace the panel rather than touch up the paint. Reserving 3%-5% spare material when ordering is for exactly this purpose: the real problem is when the replacement panel does not match the batch color difference. Spare material stored in the warehouse is much safer than loose panels left on site.
Dampness in underground spaces is a slow-acting issue. The finish can resist mold, but when air humidity is high, condensation will still form water. For projects where fresh air and dehumidification are inadequate, removable inspection nodes should be reserved in the wall solution.
On the day the owner visited the site
Acceptance was not formalistic: joint feel (run a fingernail along to check for height difference), straightness of edge sealant, skirting junction, and accuracy of switch panel cutouts. Two small dents were picked out on the spot, repaired with patches, and half a day's work was deducted from the crew.
When receiving goods, do one thing first: check the batch numbers on the back of the panels against the packing list. If batches are mixed, do not argue—take photos on the spot for the record and distribute the mixed-batch panels across different facades. The cost of remediation is far lower than shrugging at the acceptance site.
One line in the project file is often overlooked: crew source. Among the crew leaders we work with regularly, who is good at curved surfaces, who runs joints straight, and who cuts openings cleanly—all of this is honed one order at a time. With the same material, different crews can produce a difference of a full grade in delivered appearance.
The quotation must be broken down to avoid being ripped off: material unit price, substrate treatment, auxiliary materials (adhesive, primer, edge trims), labor, loss, and transport and handling. If one of the six is missing, it may later become an added cost. For loss rate, 8%-12% for flat walls is the conventional range; curved surfaces, columns, and irregular patterns must be calculated separately by developed area.
Lightweight partition walls are the most common problem type in commercial space renovation. Substrates such as gypsum board and calcium silicate board have limited load-bearing capacity themselves; traditional stone on walls either requires reinforcement or dry hanging, and both cost and thickness remain high. Thin flexible finishes use the full-bonding route, with unit dead weight controlled at the level of a glass of water; lightweight walls can achieve a stone texture without major work, which is why it is singled out.
Beauty salon general self-check page
Give friends who also do beauty salons a self-check list; only when the conditions are checked does the material come up for discussion:
- Brand and color of edge sealant
- Joint feel (run a fingernail along to check for height difference), straightness of edge sealant, skirting transition, accuracy of switch panel openings
- Quantity of material preparation and batch number retention
- Relationship between starting point and column positions
For projects under construction while still operating, the time window matters more than labor hours. For night work sections, coordinate noise timing, freight elevator use, and fire access occupation with property management in advance. These coordination items cannot be scheduled into the process table, but they can determine whether the entire project is delivered several days late.
For projects under nighttime construction, daytime is not for rest but for preparation: panel cutting, pre-layout, sorting and numbering are all completed during the day, and only bonding and compaction are done at night. Clarify the division of work between the two shifts during the briefing.
Questions received after the project ended
Q: Why is the loss rate for 380 ㎡ as high as 22%, higher than for a large project?
Answer: Because of the curves and openings. The wavy wall top must be cut according to the setting-out line; a Ø1.1m circular opening cut in one panel wastes all four corners, and the same applies to the three niches. That 50 ㎡ round-mirror wall consumed nearly 30% in waste.
How do you connect the wavy lines on the top of the wall to the ceiling?
A: Place the ceiling curve in 1:1 pattern on the wall, draw the ink line, and then cut the board according to the line. Do not "paste to the top and then repair", or the edge will be jagged, and the wall wash light will expose it all.
Someone asked this: for circular openings, should they be cut first or later? Install the mirror backing panel and light trough first, then apply the panels, and finally cut along the mirror frame. If holes are cut before installation, any deviation in hole position ruins the entire panel.
By the way, answering a frequently asked question: in spaces like beauty salons, where do walls tend to get damaged? Essential oil stains and hair dye. Oil stains can be wiped off the same day, but once hair dye splashes on, it is permanent. For salons with hair styling services, it is recommended to treat the wall behind the hair dye stations separately.
The truth about daily maintenance
Don't overcomplicate maintenance. Don't blast the joints with a steam mop; when the sofa is occasionally moved, check the hanging hardware behind it—that's all.
The parameter definitions in the contract must be aligned: whether the nominal thickness includes backing, whether loss is included in the unit price or the quantity, and who keeps the reserved material. Ninety percent of disputes in the industry originate from not stating one sentence clearly at the time of quotation.
The mockup wall is for three parties: the owner sees the effect, the construction team sees the workmanship, and the supervisor sees the acceptance standard. A 2㎡ mockup wall is more useful than a ten-page proposal presentation. The processes used to install the mockup on the wall are the work instructions for large-area construction.
Handling of the three hurdles
Closings reveal true quality. At the treatment room perimeter walls and wall-ceiling curves, reception area and corridor, round mirror wall and niche wall, and column cladding and stone plinth, each position corresponds to a specific closing method; cut the skirting section separately and let the joint go to the skirting line, so the wall base can be scrubbed vigorously.
The obvious trend in the commercial fit-out sector over the past two years is "light renovation, heavy finishes": the structure stays untouched, the substrate is slightly adjusted, and the facade is renewed. The math behind it is simple—business interruption costs more than renovation. The material route of no keels, no wet work, and same-day installation and same-day use fits exactly this demand.
Why not printed slate
The question peers ask most is "why not use printed slate." The answer is very practical: wall installation doesn't need dry hanging, so the cost of the keel is saved outright.
There are two schools of internal/external corner treatment: full-sheet wrapping and mitered corners. Full-sheet wrapping looks good but demands strict right-angle precision from the substrate; mitered corners are safer, and the eye can accept a slightly offset seam position. External corners in public spaces have a high probability of being hit; better to use mitered corners plus corner guard edging than to gamble for appearance.
Many people blame the smell when new materials enter the site on the finish, but in fact about 80% comes from adhesive and base auxiliary materials. The environmental protection standard depends on the entire supply chain: if the main material meets the standard but the auxiliary materials are poor, there will still be odor. Having auxiliary materials also included in the acceptance checklist in projects is no longer an advanced practice; it is standard practice.
The day the crew entered the site
Full bonding sounds simple, but the adhesive's open time is a hidden threshold. Clean up squeezed-out adhesive after each section; scraping it off after it dries causes secondary damage.
Acceptance by node saves money compared with one-time acceptance. Inspect once when the substrate is completed, once for the sample wall, once by sampling when more than half of the large area is done, and once with full coverage at the end. Take photos and keep records each time, so problems are solved when they are cheapest. Saving all disputes until delivery day is the most costly approach.
Three things separate a rendering from the real thing: vein density, seam method and gloss level. Stone-texture walls in rendering libraries are often 'density-amplified versions'; looking for materials by copying them directly will disappoint. The reliable path is to use the rendering to set the character, use samples to set specifications, and use a 1:1 sample wall to set final expectations.
Time account
4 people, 14 workdays (estimate); this speed is achieved by 'Material Not Dropped': the board goes directly from the truck to the work area.
Area is not the order quantity
Setting out took most of a day. For the treatment room perimeter walls and wall-ceiling curves, reception area and corridor, round mirror wall and niche wall, column cladding and stone base, every section had a different starting point; walls that look the same on drawings are never the same on site. Both sides of door openings are laid out from the door center outward, with narrow strips left for the outer internal corners.
Understand the texture from images
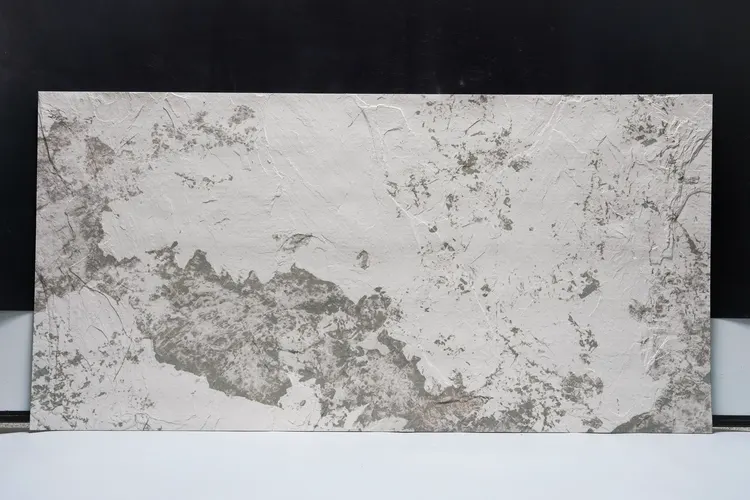
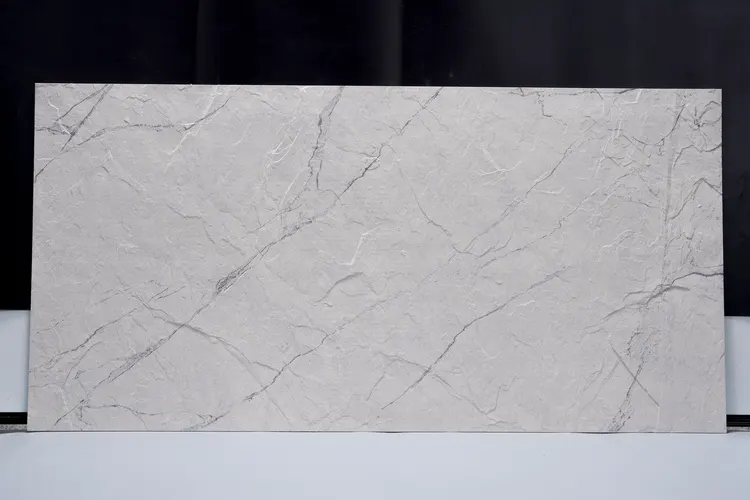
Related reading
Compare them side by side for more confidence:
Previous:About 860 m² of walnut grain at a Lanzhou clubhouse: fine grain and joint analysis
Next:About 760㎡ slate in Xi'an homestay: exterior wall eaves and material junctions
Related articles

Skin Management Center 460㎡ Marble Grain Flat Panel (White) Wall Construction Case
The skin management center project is located in Beibei District, Chongqing, ...
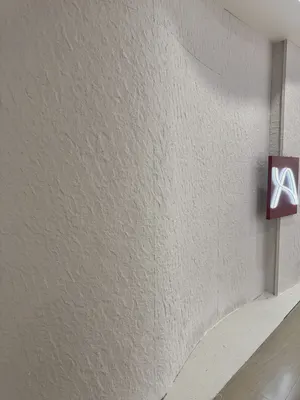
Beauty salon 220㎡ Star Moon Stone (light color) wall construction case
The beauty salon project is located in Luoyang City, Henan Province. The main...
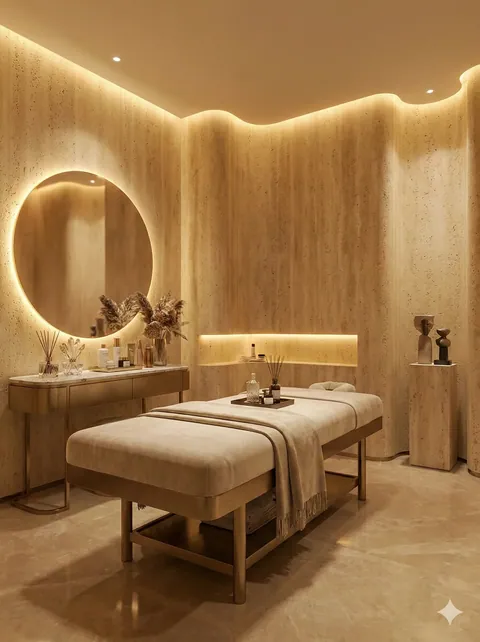
Kunming Panlong Beauty Salon 380㎡ Travertine Wall Case | Wall-Ceiling Wavy Curve and Round Mirror Opening
The hardest work in this Kunming beauty salon is not on the flat surface, but...
cases related
Skin Management Center 460㎡ Marble Grain Flat Panel (White) Wall Construction Case
The skin management center project is located in Beib...
View cases →
Beauty salon 220㎡ Star Moon Stone (light color) wall construction case
The beauty salon project is located in Luoyang City, ...
View cases →
Kunming Panlong Beauty Salon 380㎡ Travertine Wall Case | Wall-Ceiling Wavy Curve and Round Mirror Opening
The hardest work in this Kunming beauty salon is not ...
View cases →